A Linux Development Desktop with VMware Horizon - Part II: Applications

Applications
In this section I´m going to list a couple of applications which I´m using for my desktop and how you can easily install them from your shell. Of course, it´s not a must and it´s up to you which of them you´d like to install.
Google Chrome
https://www.google.com/chrome/
Firefox is pre-installed on Ubuntu as well as on CentOS but I´m for years now with Chrome and I´m still satisfied.
Ubuntu
wget https://dl.google.com/linux/direct/google-chrome-stable_current_amd64.deb -P ~/Downloads
sudo dpkg -i ~/Downloads/google-chrome-stable_current_amd64.deb
CentOS
wget https://dl.google.com/linux/direct/google-chrome-stable_current_x86_64.rpm -P ~/Downloads
sudo yum install ~/Downloads/google-chrome-stable_current_x86_64.rpm
Snap (package manager)
This package manager is pre-installed and ready for use on Ubuntu but not on CentOS. Nevertheless, we can install it subsequently via the Extra Packages for Enterprise Linux.
Add the EPEL repository:
sudo dnf install epel-releaseInstall and enable snapd:
sudo yum install snapd
sudo systemctl enable --now snapd.socket
sudo ln -s /var/lib/snapd/snap /snap
The command line interface snap is ready for use:
snap --help

The snap command lets you install, configure, refresh and remove snaps.
Snaps are packages that work across many different Linux distributions,
enabling secure delivery and operation of the latest apps and utilities.

Commands can be classified as follows:

 Basics: find, info, install, list, remove
...more: refresh, revert, switch, disable, enable
History: changes, tasks, abort, watch
Daemons: services, start, stop, restart, logs
Commands: alias, aliases, unalias, prefer
Configuration: get, set, unset, wait
Account: login, logout, whoami
Permissions: connections, interface, connect, disconnect
Snapshots: saved, save, check-snapshot, restore, forget
Other: version, warnings, okay, ack, known, model, create-cohort
Development: run, pack, try, download, prepare-image
Visual Studio Code (VSCode)
https://code.visualstudio.com/
VSCode is a powerful open source cross-platform editor and definetely one of my absolute favorite tools so far and indispensable for our desktop.
Option 1: Installation via snap
sudo snap install code --classicOption 2: Step by Step
Ubuntu
Repository and key:
curl https://packages.microsoft.com/keys/microsoft.asc | gpg --dearmor > packages.microsoft.gpg
sudo install -o root -g root -m 644 packages.microsoft.gpg /usr/share/keyrings/
sudo sh -c 'echo "deb [arch=amd64 signed-by=/usr/share/keyrings/packages.microsoft.gpg] https://packages.microsoft.com/repos/vscode stable main" > /etc/apt/sources.list.d/vscode.list'
Install:
sudo apt-get install apt-transport-https && sudo apt-get update && sudo apt-get install codeCentOS
Repository and key:
sudo rpm --import https://packages.microsoft.com/keys/microsoft.asc
sudo sh -c 'echo -e "[code]\nname=Visual Studio Code\nbaseurl=https://packages.microsoft.com/yumrepos/vscode\nenabled=1\ngpgcheck=1\ngpgkey=https://packages.microsoft.com/keys/microsoft.asc" > /etc/yum.repos.d/vscode.repo'
Install:
sudo dnf check-update
sudo dnf install code
[Extension] VSCode Settings sync
https://marketplace.visualstudio.com/items?itemName=Shan.code-settings-sync
VSCode has a REALLY rich extensibility model which gives you everything you need to work even more efficiently and faster. It´ll not be possible to avoid that more and more extensions and other niceties are added to your installation and as of today it´s not possible to have everything consistent across different systems or platforms through an Online-Account like you have e.g. for Google Chrome.
Thus I´d like to recommend using the VSCode Settings sync extension for it. It uses your GitHub account (required) token and Gist, to give you the ability to upload as well as download your settings, snippets, themes and so forth.
Just search for the extension at the marketplace, install it, select LOGIN WITH GITHUB (get redirected) and follow the instructions. Since you´ve created your Gist-ID you´re ready to go to upload as well as to download your settings.
Shortcuts
- Upload Key : Shift + Alt + U
- Download Key : Shift + Alt + D
(on macOS: Shift + Option + U / Shift + Option + D)
Set VSCode as default editor for Git
Open your terminal and execut: git config --global core.editor “code --wait”
Source: https://git-scm.com/book/en/v2/Customizing-Git-Git-Configuration
Remmina
Remmina is a Remote Desktop Client which supports multiple network protocols like e.g. RDP, VNC, SPICE, NX, XDMCP and SSH.
sudo snap install remmina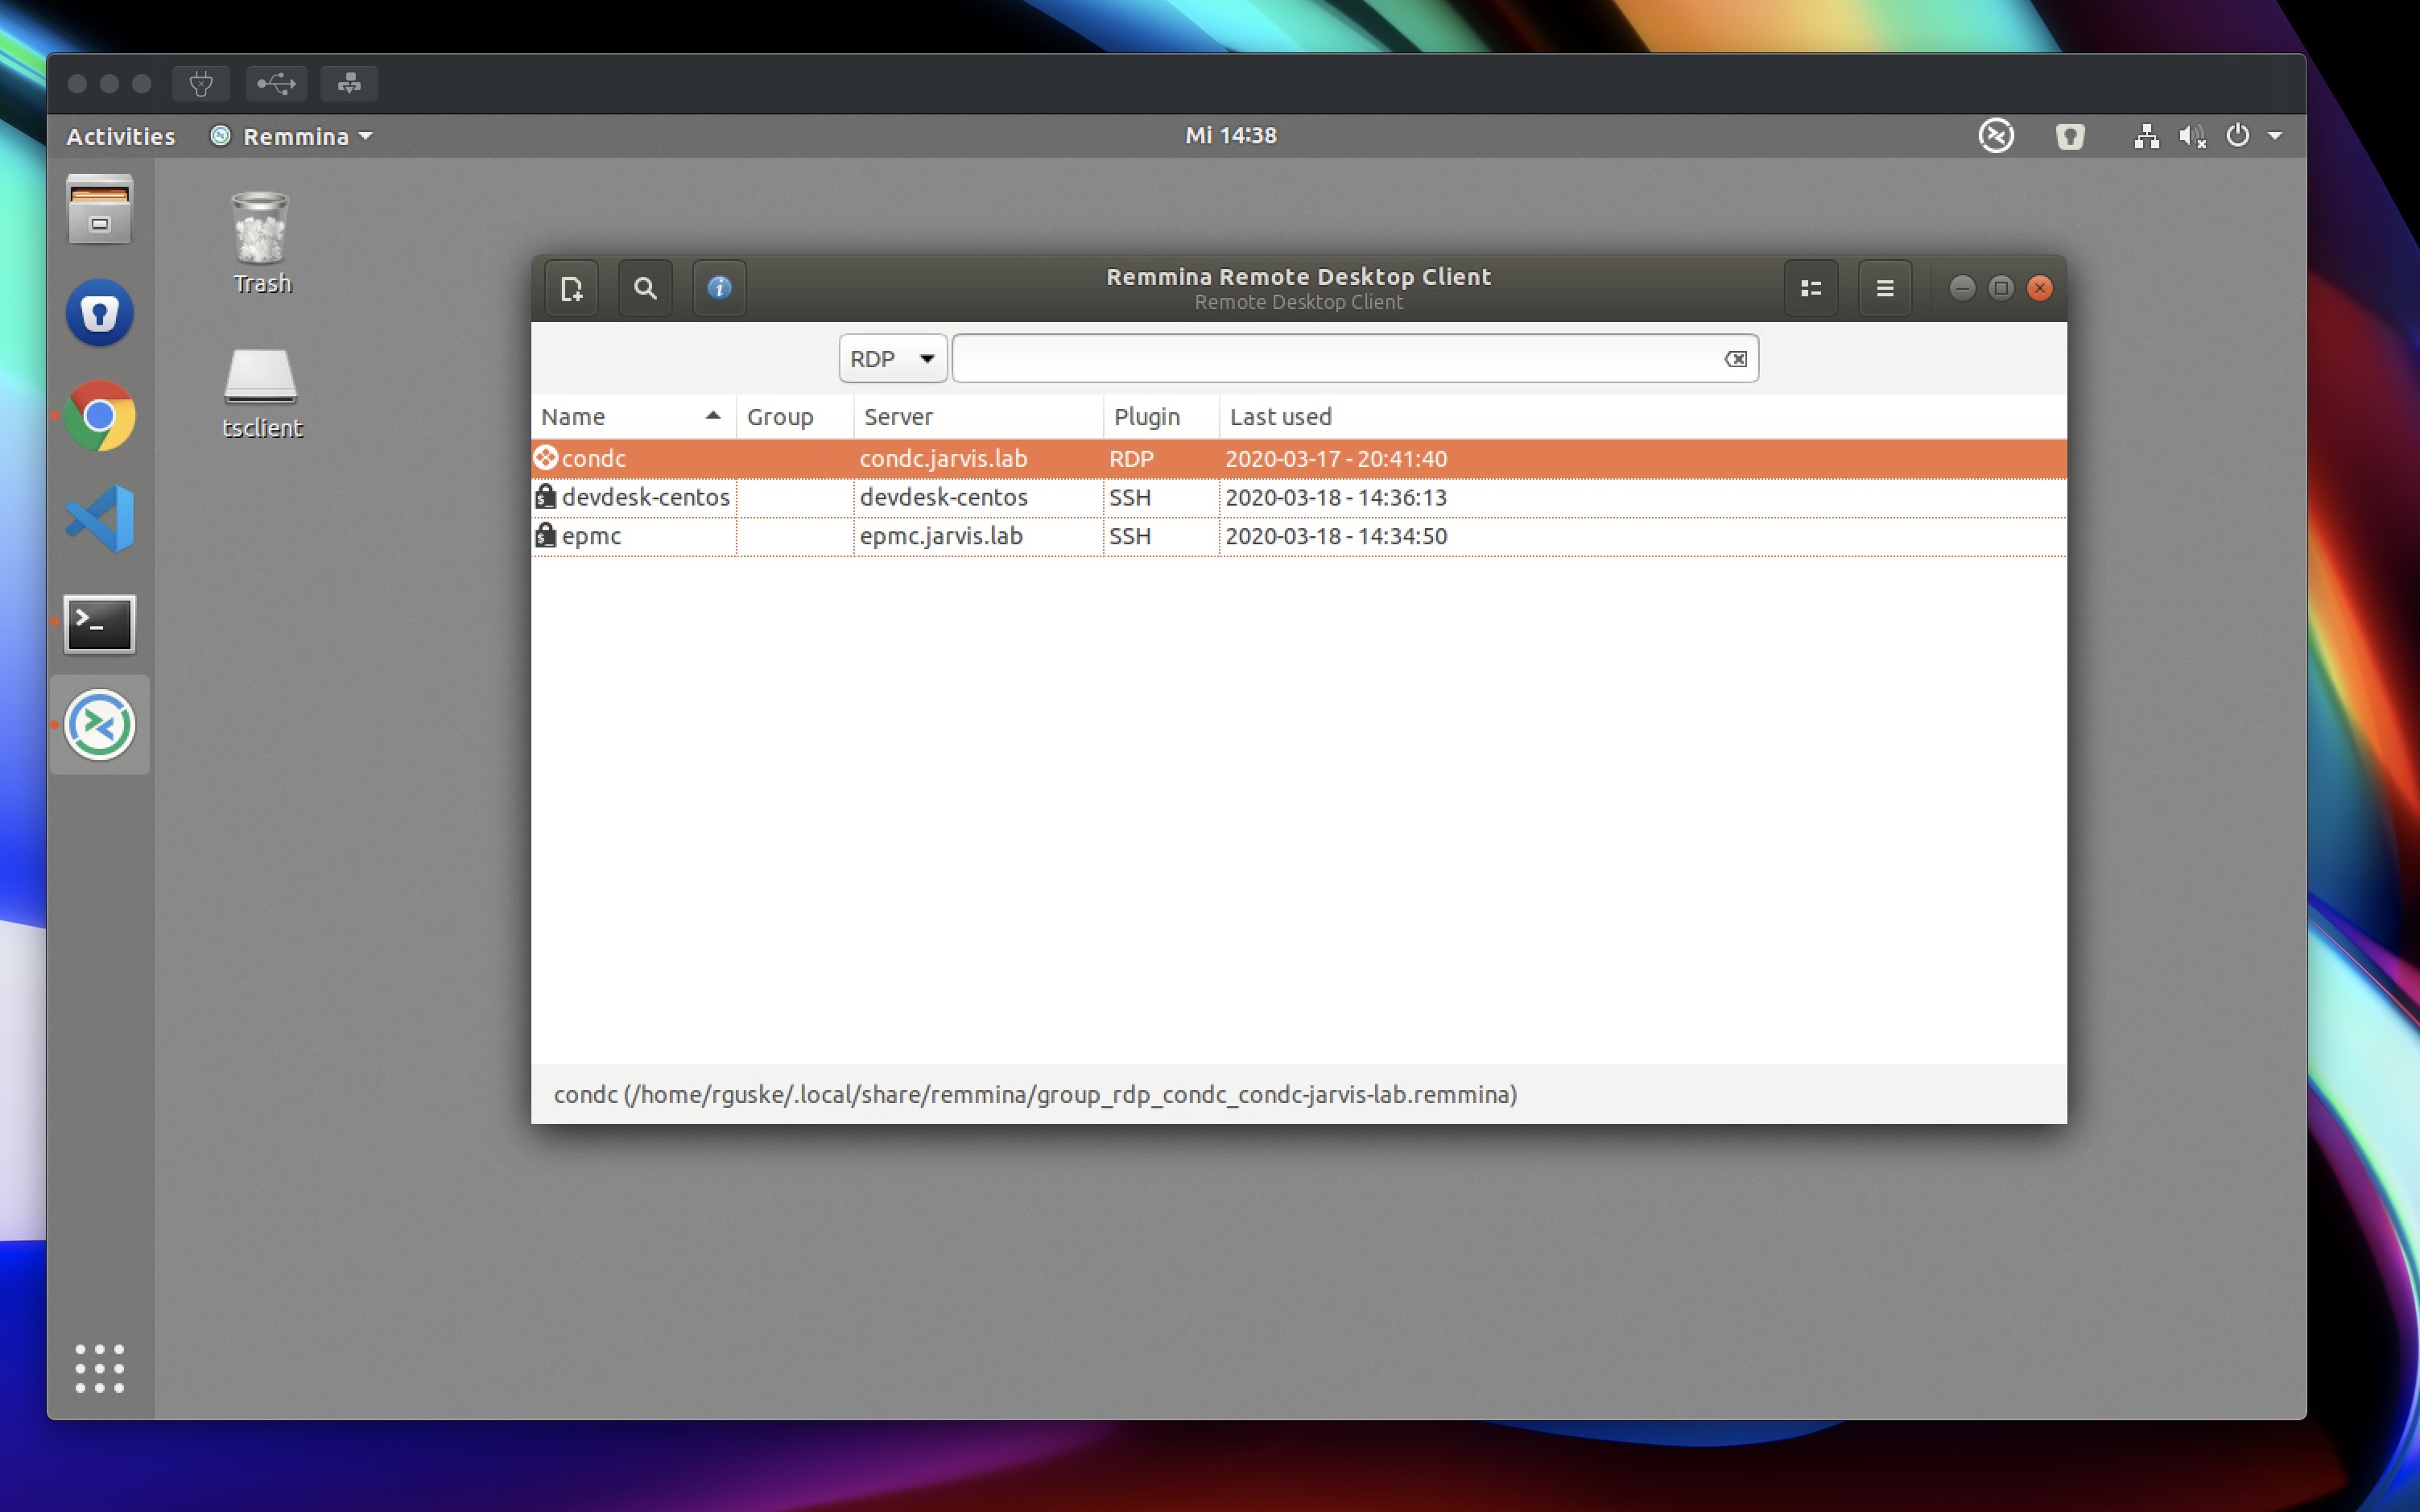
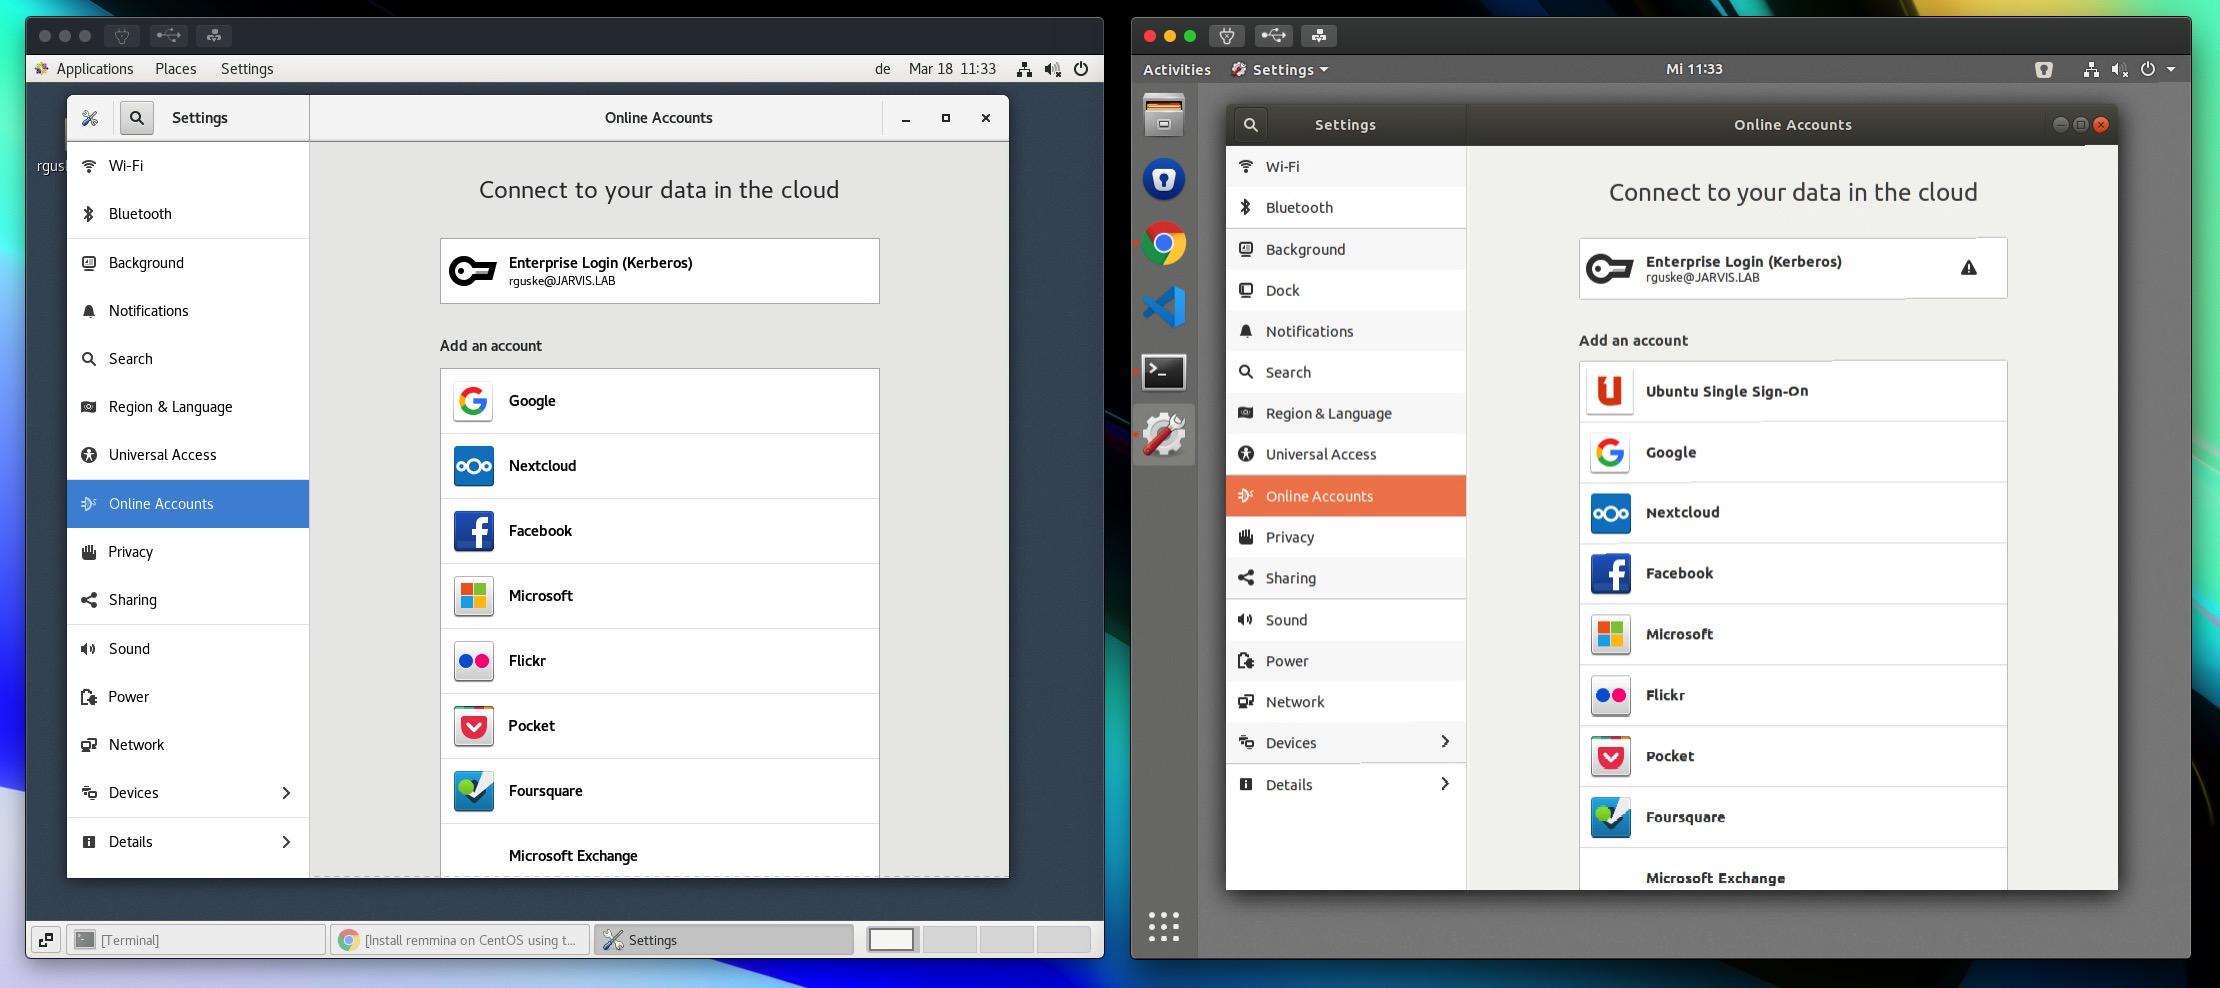
Content sharing
I was looking for a workspace where I can share content, mainly files like scripts or specification-files (.yml, .json) across platforms. It´s possible by default to activate Online Accounts (Figure II) like e.g. Google or Nextcloud in both distributions through the System Settings.
Dropbox for Linux
https://www.dropbox.com/en/install-linux
I decided to try Dropbox due to the availability of an already existing account.
Ubuntu
Dropbox Headless:
cd ~ && wget -O - "https://www.dropbox.com/download?plat=lnx.x86_64" | tar xzf -Installing the Dropbox CLI:
sudo wget -O /usr/local/bin/dropbox "https://www.dropbox.com/download?dl=packages/dropbox.py"
sudo chmod +x /usr/local/bin/dropbox
dropbox --help
Dropbox command-line interface
commands:
autostart automatically start Dropbox at login
exclude ignores/excludes a directory from syncing
filestatus get current sync status of one or more files
help provide help
lansync enables or disables LAN sync
ls list directory contents with current sync status
proxy set proxy settings for Dropbox
puburl get public url of a file in your Dropbox's public folder
running return whether Dropbox is running
sharelink get a shared link for a file in your Dropbox
start start dropboxd
status get current status of the dropboxd
stop stop dropboxd
throttle set bandwidth limits for Dropbox
update download latest version of Dropbox
version print version information for DropboxEnable Dropbox to start automatically after every reboot:
sudo vim /etc/systemd/system/dropbox.service

[Unit]
Description=Dropbox Service
After=network.target

[Service]
ExecStart=/bin/sh -c '/usr/local/bin/dropbox start'
ExecStop=/bin/sh -c '/usr/local/bin/dropbox stop'
PIDFile=${HOME}/.dropbox/dropbox.pid
User=jarvis
Group=jarvis
Type=forking
Restart=on-failure
RestartSec=5
StartLimitInterval=60s
StartLimitBurst=3

[Install]
WantedBy=multi-user.target
Reload system daemon:
sudo systemctl daemon-reloadEnable the new Dropbox service:
sudo systemctl enable dropboxStart the service:
sudo systemctl start dropboxCentOS
Dropbox Headless:
cd ~ && wget -O - "https://www.dropbox.com/download?plat=lnx.x86_64" | tar xzf -
sudo mkdir -p /opt/dropbox
sudo cp -r .dropbox-dist/* /opt/dropbox
By executing /opt/dropbox/dropboxd you should be forwarded to the Dropbox homepage where you have to login to authenticate the connection request. After this, quite the running Dropbox on your terminal with ctrl + c.
Creating the init.d file:
sudo curl -o /etc/init.d/dropbox https://gist.githubusercontent.com/thisismitch/6293d3f7f5fa37ca6eab/raw/2b326bf77368cbe5d01af21c623cd4dd75528c3d/dropboxCreating the systemd unit file:
sudo curl -o /etc/systemd/system/dropbox.service https://gist.githubusercontent.com/thisismitch/6293d3f7f5fa37ca6eab/raw/99947e2ef986492fecbe1b7bfbaa303fefc42a62/dropbox.serviceSet the appropriate permissions for the newly created files:
sudo chmod +x /etc/systemd/system/dropbox.service /etc/init.d/dropboxAdd users to be able to run Dropbox:
sudo vim /etc/sysconfig/dropbox
DROPBOX_USERS="rguske"
Reload system daemon:
sudo systemctl daemon-reloadEnable the new Dropbox service:
sudo systemctl enable dropboxStart the service:
sudo systemctl start dropboxInstalling the Dropbox CLI
sudo wget -O /usr/local/bin/dropbox "https://www.dropbox.com/download?dl=packages/dropbox.py"
sudo chmod +x /usr/local/bin/dropbox
Docker Engine - Community
Another must!
Option 1: Installation via snap
sudo snap install dockerOption 2: Step by Step
Ubuntu:
sudo apt -y install \
    ca-certificates \
    curl \
    gnupg \
    lsb-release

 curl -fsSL https://download.docker.com/linux/ubuntu/gpg | sudo gpg --dearmor -o /usr/share/keyrings/docker-archive-keyring.gpg

echo \
  "deb [arch=$(dpkg --print-architecture) signed-by=/usr/share/keyrings/docker-archive-keyring.gpg] https://download.docker.com/linux/ubuntu \
  $(lsb_release -cs) stable" | sudo tee /etc/apt/sources.list.d/docker.list > /dev/null

sudo apt  update

sudo apt -y install docker-ce docker-ce-cli containerd.io
Manage Docker as a non-root user
The usergroup docker should be created after the installation. If not, run:
sudo groupadd docker
Add your $USER to the group by executing sudo usermod -aG docker $USER.
CentOS:
sudo yum install -y yum-utils \
  device-mapper-persistent-data \
  lvm2

sudo dnf install https://download.docker.com/linux/centos/7/x86_64/stable/Packages/containerd.io-1.2.6-3.3.el7.x86_64.rpm

sudo yum-config-manager \
   --add-repo \
   https://download.docker.com/linux/centos/docker-ce.repo

sudo yum install docker-ce docker-ce-cli

sudo systemctl enable --now docker

systemctl status docker.service

sudo usermod -aG docker $USER
After adding your user to the docker group, you have to logout and login first, so that your group membership is re-evaluated.
Docker Compose
https://docs.docker.com/compose/
A tool for deploying multi-container applications which services are specified in a YAML file.
sudo curl -L "https://github.com/docker/compose/releases/download/1.25.3/docker-compose-$(uname -s)-$(uname -m)" -o /usr/local/bin/docker-compose

sudo chmod +x /usr/local/bin/docker-compose
VMware Remote Console
Download: https://www.vmware.com/go/download-vmrc
VMware OVF Tool
Download: https://code.vmware.com/web/tool/4.3.0/ovf
These two binaries were downloaded locally (to my Notebook) first, then got packed into a zip archive and copied via scp to my desktop(s).
scp ~/Downloads/tools.zip jarvis@devdesk-centos:/home/jarvis/DownloadsUnpack afterwards:
unzip tools.zipsudo dnf install ncurses-compat-libsMake them executable and start the installation:
chmod +x VMware-ovftool-4.3.0-14746126-lin.x86_64.bundle
sudo ./VMware-ovftool-4.3.0-14746126-lin.x86_64.bundle --console --required --eulas-agreed
chmod +x VMware-Remote-Console-11.0.0-15201582.x86_64.bundle
sudo ./VMware-Remote-Console-11.0.0-15201582.x86_64.bundle --console --required --eulas-agreedEnpass
A secure vault which is available for all mobile and desktop platforms.
Ubuntu:
sudo -i
echo "deb https://apt.enpass.io/ stable main" > \/etc/apt/sources.list.d/enpass.list
wget -O - https://apt.enpass.io/keys/enpass-linux.key | apt-key add -
exit
sudo apt update && sudo apt install enpass
CentOS:
cd /etc/yum.repos.d/
sudo wget https://yum.enpass.io/enpass-yum.repo
sudo yum install enpass
cd ~Change Log:
- [2020-03-18]: Added Snap (package manager); Remmina (Remote Desktop Client); Section “Content sharing”; Dropbox client