Sharing Container Images using the Docker CLI or Carvel's imgpkg

One thing I really appreciate in my current role at VMware, is being involved in great and often challenging customer engagements. Challenging is good! Because it often includes the opportunity to learn something new, based on the challenge you are facing. During my recent engagements with customers, I had to deal a lot with fully air-gapped environments, where even the jumphost we used had no internet connection.
In terms of Kubernetes (K8s) based deployments, where all the container image specifications are referencing to public repositories, you consequently have to make the necessary images offline, in a private registry, available before handing them over to K8s.
I’ve scratched this topic already in my recent post Deploy VMware Tanzu Packages from a private Container Registry, where I used the Carvel tool imgpkg to download image bundles from a public registry, pack those into a tarball and to ultimately upload it to a private registry.
I also just learned (never had to use it before), that the docker cli supports a similar method to save one or more images into a tarball and to load the tarball as a docker image locally again. Even though, imgpkg supports a couple of more useful commands and options to handle image sharing and image relocating.
I’d like to cover both ways briefly in this post. I think it’s good to know these functionalities and have them in your repertoire.
I’ll start with the Docker CLI commands save and load first and will end this post with the imgpkg tool.
Using Docker
I won’t cover docker export and docker import in this post! But in case you come across this, the TL;DR is:
A Docker image, which is built from a Dockerfile, is like a template which includes the specifications for layers to build and run your application. Docker save and load only works with Docker images, while docker export and docker import will only be used to e.g. export a snapshot of the container’s filesystem.
docker save
The Docker CLI is giving you the following information when you “ask” for --help.
docker save --help

Usage:  docker save [OPTIONS] IMAGE [IMAGE...]

Save one or more images to a tar archive (streamed to STDOUT by default)

Options:
  -o, --output string   Write to a file, instead of STDOUT
There’s no real explanation necessary. You only have to specify the output file name and extension (.tar) using the option -o.
# Download image
docker pull k8s.gcr.io/sig-storage/csi-provisioner:v2.2.2

# Save the image
docker save k8s.gcr.io/sig-storage/csi-provisioner:v2.2.2 -o csi-provisioner-v222.tar
docker load
Now that the image is available in a shareable format, share it, so it can be loaded on the appropriate location using docker load.
docker load --help

Usage:  docker load [OPTIONS]

Load an image from a tar archive or STDIN

Options:
  -i, --input string   Read from tar archive file, instead of STDIN
  -q, --quiet          Suppress the load output
The following output is only to proof that no images were locally available on my 💻 when I was working on this example 😉
# No existing images locally
$ docker images

REPOSITORY   TAG       IMAGE ID   CREATED   SIZE
Having that proofed, let’s load the packed image using the option -i:
# Load the image
docker load -i csi-provisioner-v222.tar

# Check the availability of the image
docker images

REPOSITORY                                 TAG       IMAGE ID       CREATED        SIZE
k8s.gcr.io/sig-storage/csi-provisioner v2.2.2 e18077242e6d 9 months ago 56.4MB< and > would work the same way for docker save (>) and docker load (<)Example:
# Using the greater-than operator '>' to send to a file
docker save k8s.gcr.io/sig-storage/csi-provisioner:v2.2.2 > csi-provisioner-v222.tar
Making it locally available is obvisouly just the step before finally pushing it to a private registry, to ultimately have it accessible for others as well.
# Tag the image accordingly
docker tag e18077242e6d harbor.jarvis.tanzu/csi-smb/csi-provisioner:v2.2.2

# Push the image to your private registry
docker push harbor.jarvis.tanzu/csi-smb/csi-provisioner:v2.2.2
And there we have it.
Flowchart Docker
Summarizing the above described steps:
Using imgpkg
Out of the great Carvel toolbox, which tools supports you in making your life easier in terms of application building, configurations and deployments to Kubernetes, imgpkg offers some pretty neat commands to handle packaging, distributing, and relocating OCI images.
For now, we’re just taking a closer look on the imgpkg copy command.
imgpkg copy --help

Copy a bundle from one location to another

Usage:
  imgpkg copy [flags]

Examples:

    # Copy bundle dkalinin/app1-bundle to local tarball at /Volumes/app1-bundle.tar
    imgpkg copy -b dkalinin/app1-bundle --to-tar /Volumes/app1-bundle.tar

    # Copy bundle dkalinin/app1-bundle to another registry (or repository)
    imgpkg copy -b dkalinin/app1-bundle --to-repo internal-registry/app1-bundle

    # Copy image dkalinin/app1-image to another registry (or repository)
    imgpkg copy -i dkalinin/app1-image --to-repo internal-registry/app1-image

[...]
imgpkg copy --to-tar
Even if the two tools cannot be compared in detail with each other, they serve the same purpose for our intention. Even though, keep in mind that imgpkg in contrast to the docker CLI commands was build for such purposes and therefore it provides comprehensive capabilities and a really comfortable way of copying/relocating images.
The command imgpkg copy -i downloads the desired container image from a registry and copies it to a local tarball.
$ imgpkg copy -i k8s.gcr.io/sig-storage/csi-provisioner:v2.2.2 --to-tar csi-provisioner-v222.tar

copy | exporting 1 images...
copy | will export k8s.gcr.io/sig-storage/csi-provisioner@sha256:74ed98f7cb6dfc67b9ad7d8a65c331dd16d676335ad9f69c3c4337cc50f44703
copy | exported 1 images
copy | writing layers...
copy | done: file 'manifest.json' (6.086µs)
copy | done: file 'sha256-5dea5ec2316d4a067b946b15c3c4f140b4f2ad607e73e9bc41b673ee5ebb99a3.tar.gz' (147.490976ms)
copy | done: file 'sha256-e22751dfa03a88e8756eb5921a8dfcd93c2364dd04aeb6a394bea7bc2011d327.tar.gz' (395.995432ms)

Succeeded
This file can now be uploaded to e.g. a private registry using the option --to-repo. If your repository is configured as private, so that authentication is required, the copy command offers various options to support this case too.
Options are e.g. --registry-ca-cert-path, --registry-username and --registry-password.
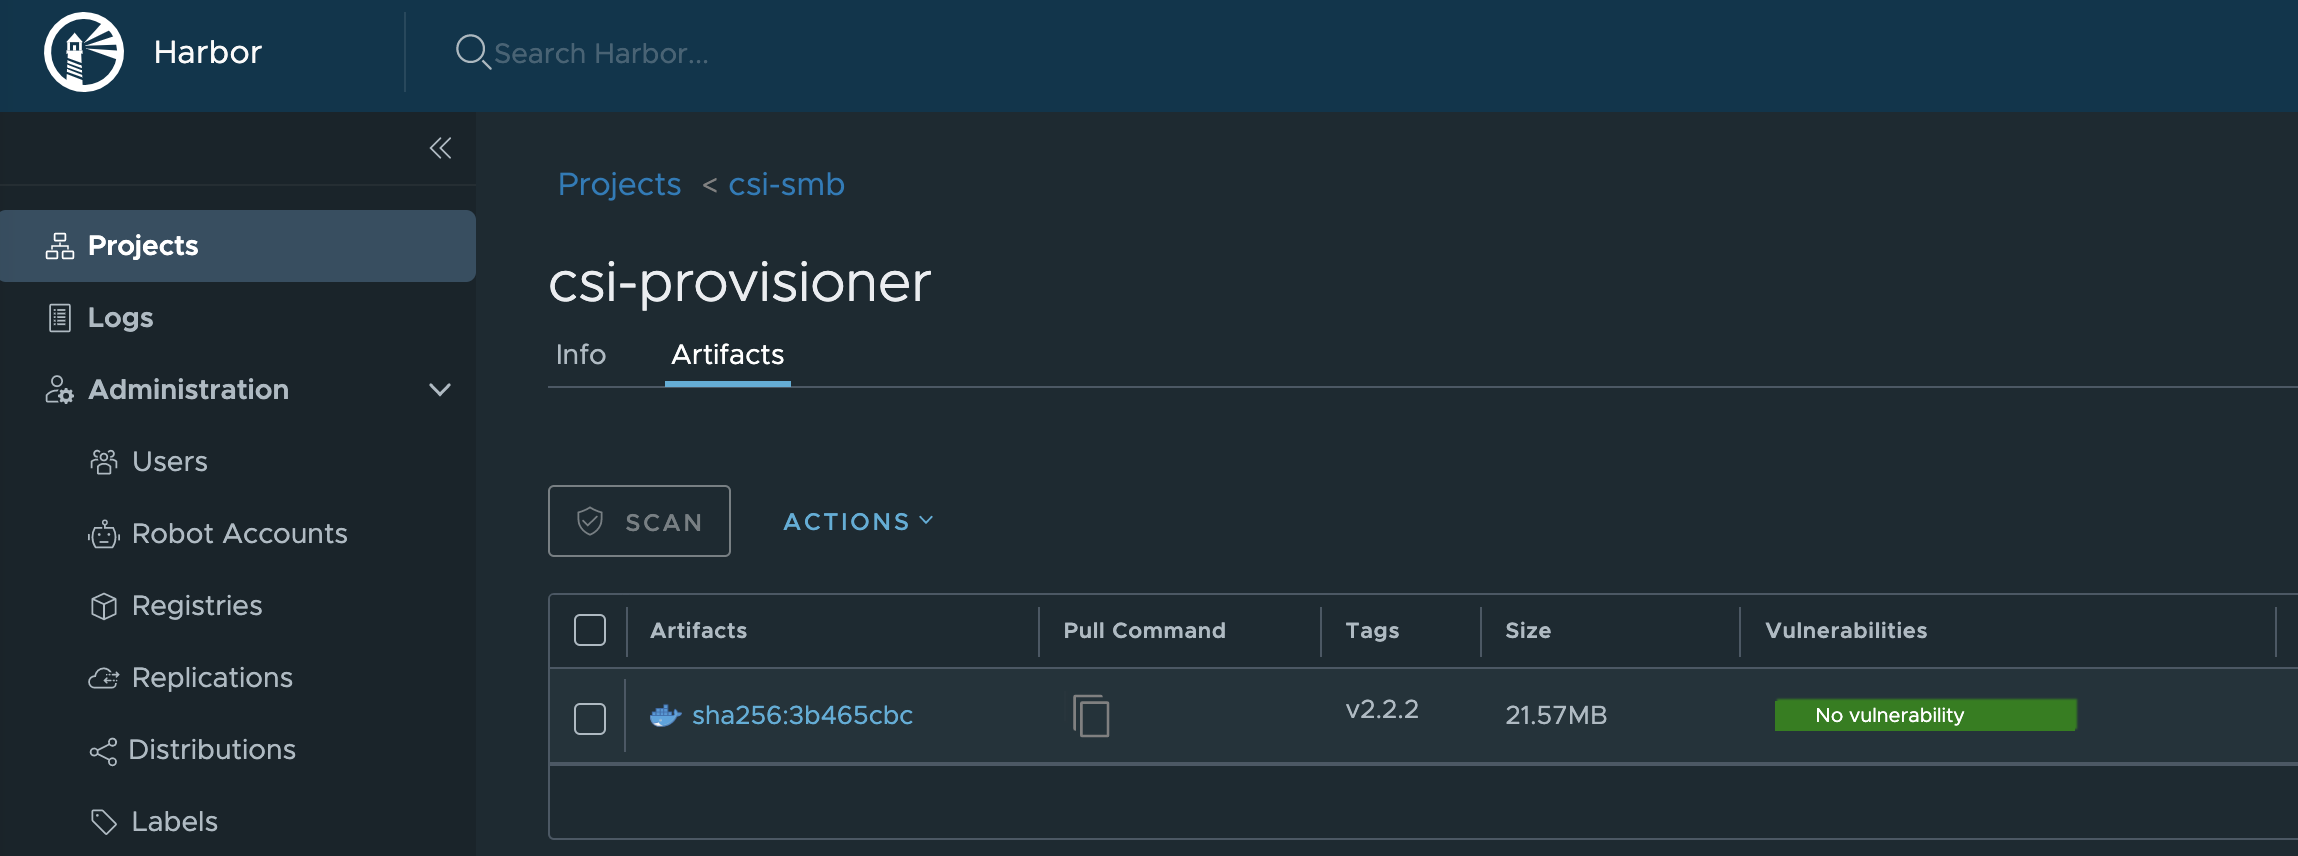
imgpkg copy --tar csi-provisioner-v222.tar --to-repo harbor.jarvis.tanzu/xyz/csi-smb --registry-ca-cert-path=ca.crt

copy | importing 1 images...

 21.56 MiB / 21.57 MiB [=====================================================================================================================================]  99.98% 10.73 MiB/s 2s

copy | done uploading images
Succeeded
imgpkg copy --to-repo
The example above demonstrates how to copy an image, packed as a tarball, to a private repository using the option --to-tar. You could also use the option --to-repo which makes it even easier to relocate images from e.g. a public registry to a private one.
imgpkg copy -i k8s.gcr.io/sig-storage/csi-provisioner:v2.2.2 --to-repo harbor.jarvis.tanzu/xyz/csi-smb --registry-ca-cert-path=ca.crt
copy | exporting 1 images...
copy | will export k8s.gcr.io/sig-storage/csi-provisioner@sha256:74ed98f7cb6dfc67b9ad7d8a65c331dd16d676335ad9f69c3c4337cc50f44703
copy | exported 1 images
copy | importing 1 images...

 21.57 MiB / 21.57 MiB [======================================================================================================================================]  99.99% 8.99 MiB/s 2s

copy | done uploading images
Succeeded
That’s awesome!
Flowchart imgpkg
Summarizing the steps using imgpkg.
That simple! 😄
Resources
- Carvel Docs - imgpkg
- Docker Docs - docker save
Blogpost cover by pixabay