vSphere Integrated Containers Part I: OVA Deployment

Environment Pre-Requisites
- vSphere Enterprise Plus license or vSphere Remote Office Branch Office (ROBO) Advanced (!)
- Dependency on the vDistributed Switch
- VIC also supports VMware NSX
- User with administrative credentials to vCenter
- Internet Access for downloading images
- min. two vDistributed Switch Port Groups
- for public communication (VCH to external network)
- for inter containers communication create a dedicated port group for use as the bridge network for each VCH
- If DHCP is not available on these segments, please, request a range of free IP-Addresses.
Deploying the OVA
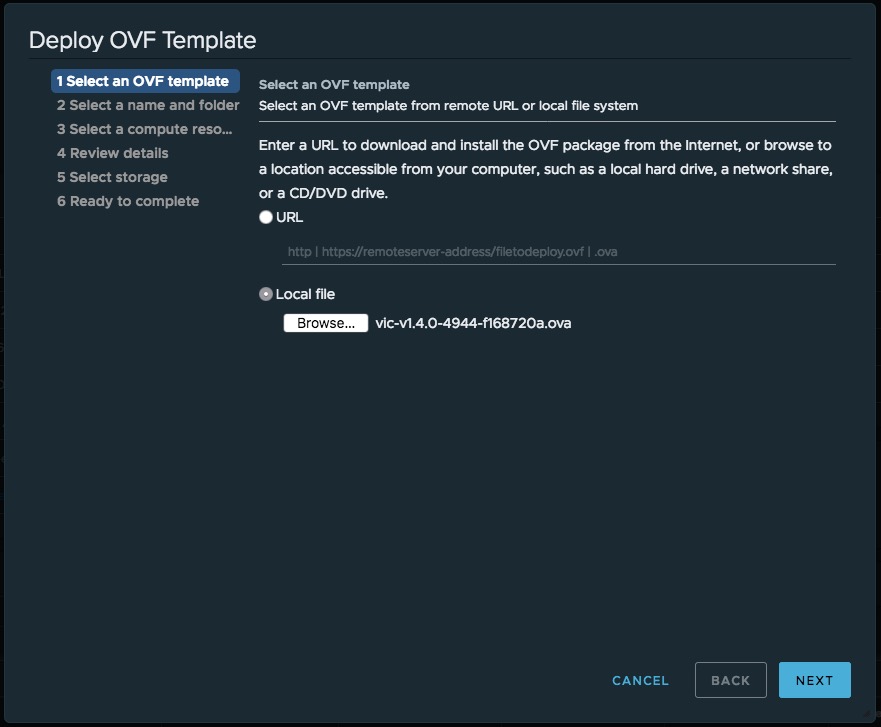
To start with, we have to download the latest bits from myvmware.com here –> VIC Version 1.4.1. After having downloaded the 3,12 GB ova-file we´ll start provisioning the VIC Virtual Appliance over the vSphere Web Client onto your vSphere Datacenter, Cluster or ESXi Host. I suppose that you are already familiar with these steps but if not, please go here first.
If you´re already familiar with it and you´re more interested in automting an OVA deployment, I´d recommend reading this Post by Romain Decker .
Pick the OVA file
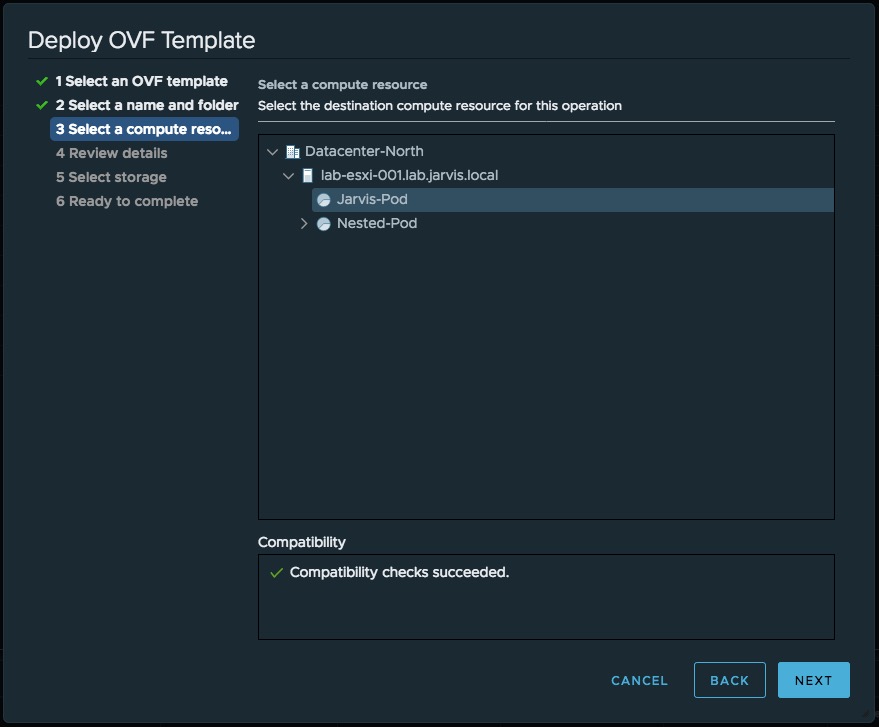
Select a compute resource
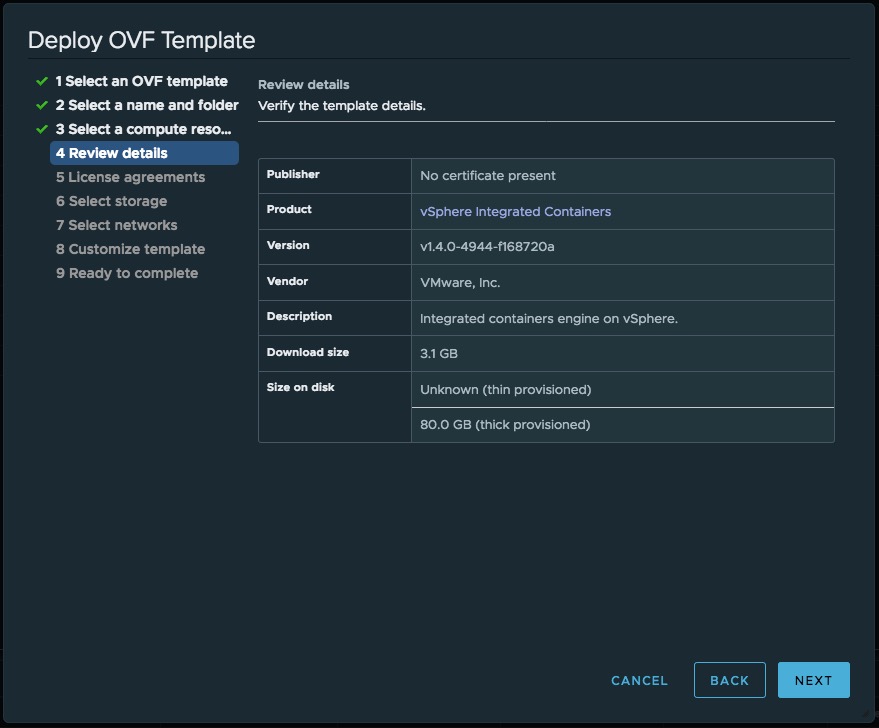
Review details
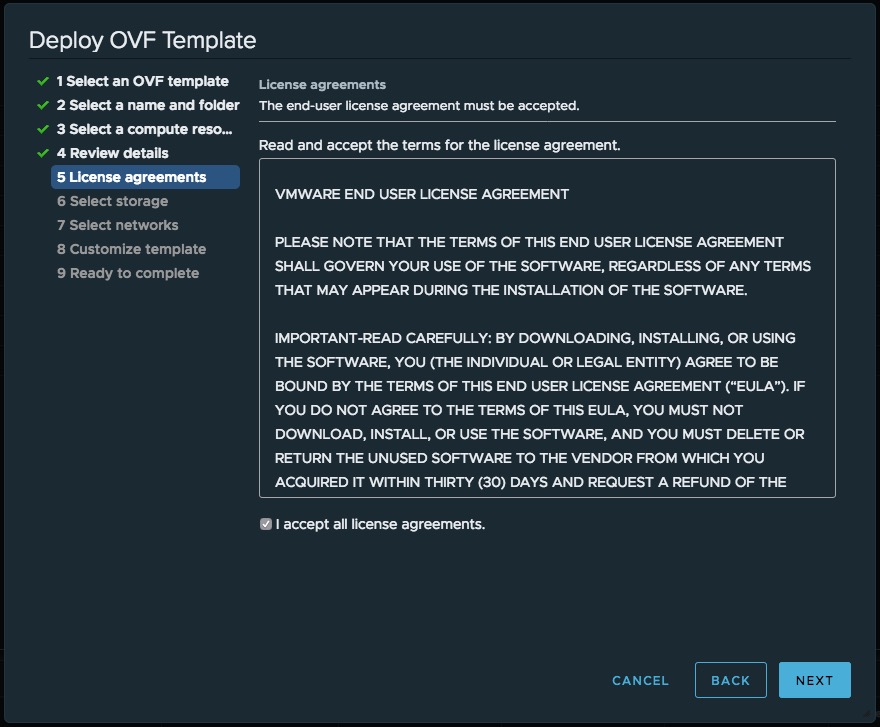
License agreements
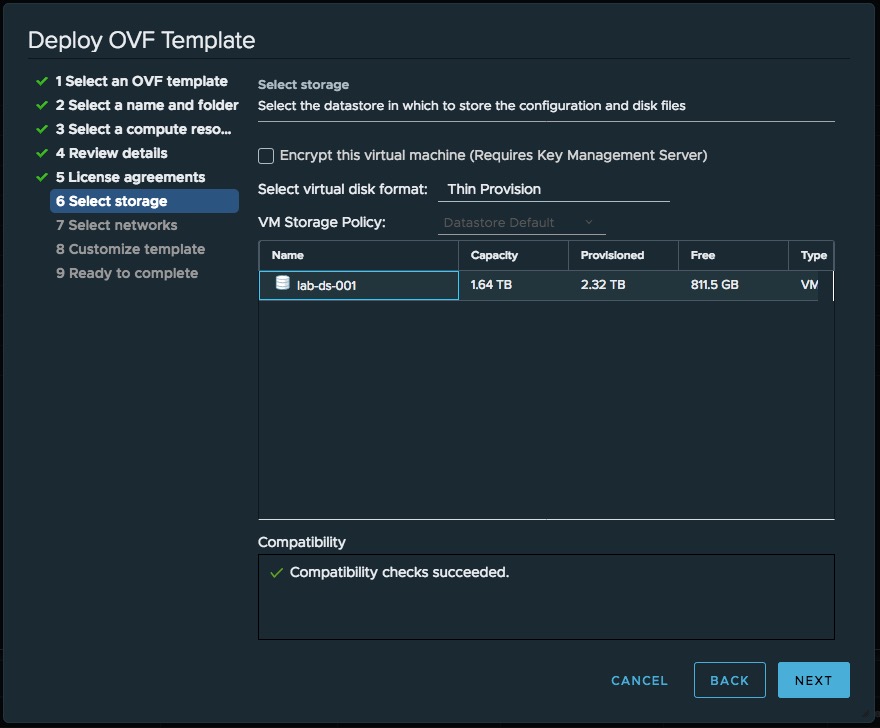
Select storage
Select networks
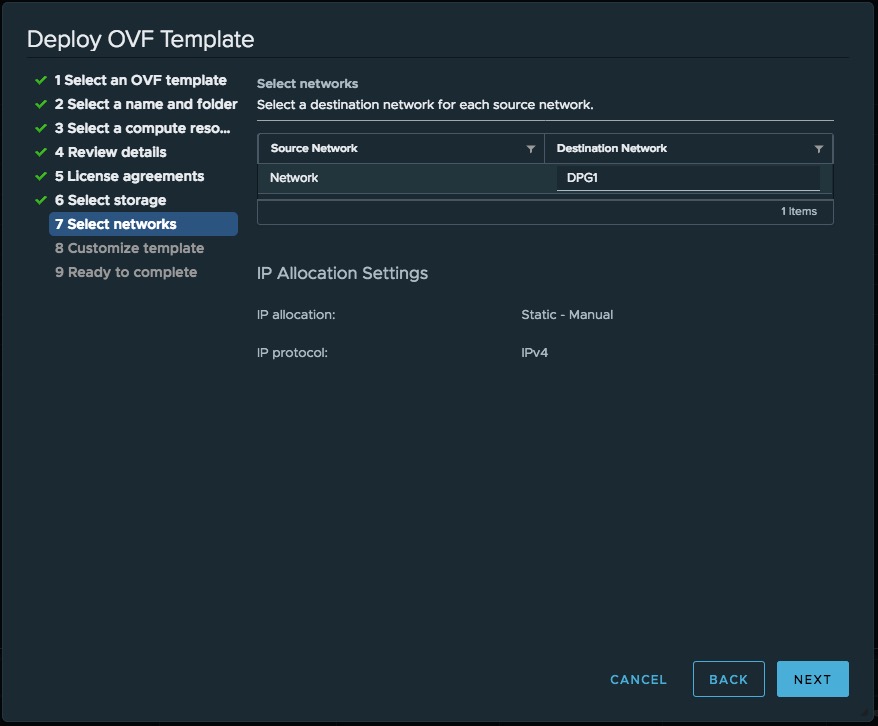
At this point, I´d like to stress out again to the VIC documentation regarding the use of SSH . SSH is needed when you perform upgrades or the following:

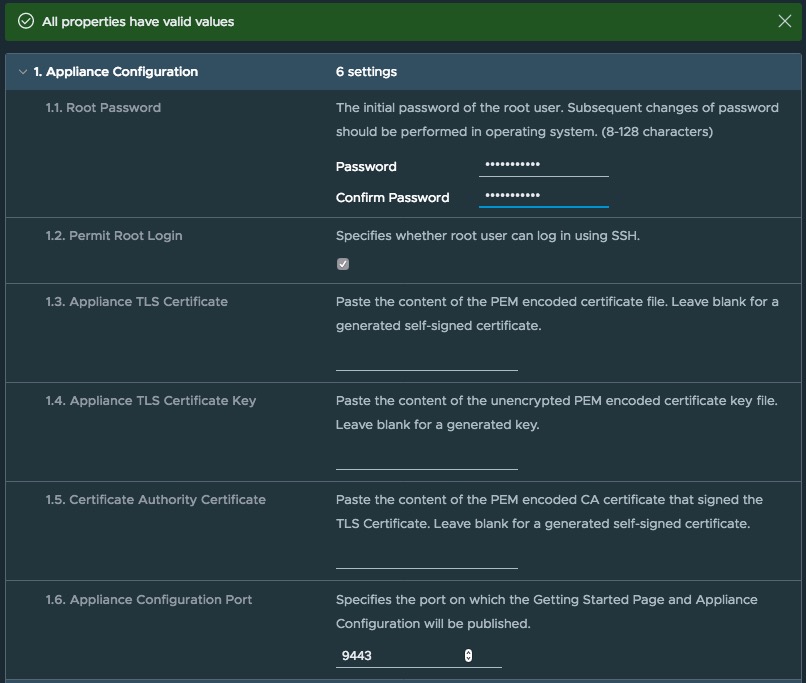
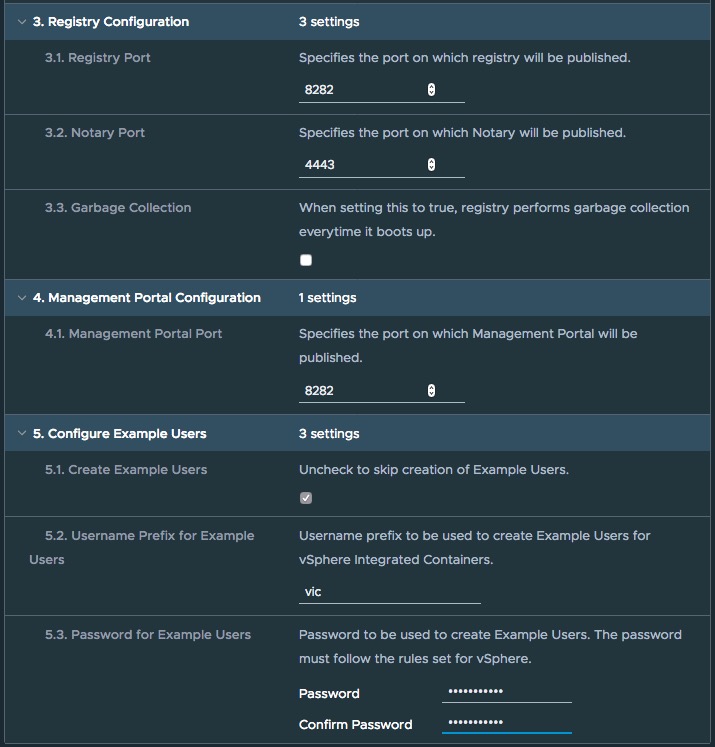
Appliance Configuration
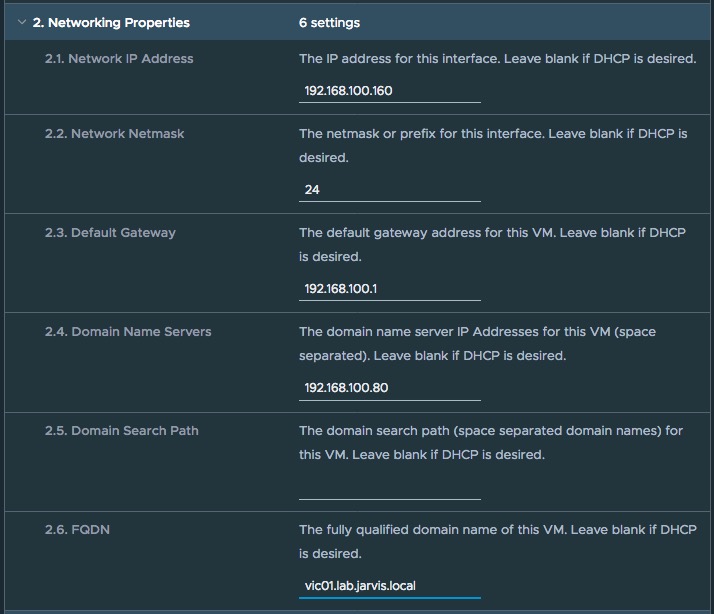
If you decide to use static IP-Addresses like me, please use spaces and not commas to separate multiple DNS-Servers.
Network Properties
I´ve also decided to create an example user through the wizard, which gets the username prefix you´ve chosen in point 5 in this section. I´m fine with the predetermined prefix vic.
Ready to complete
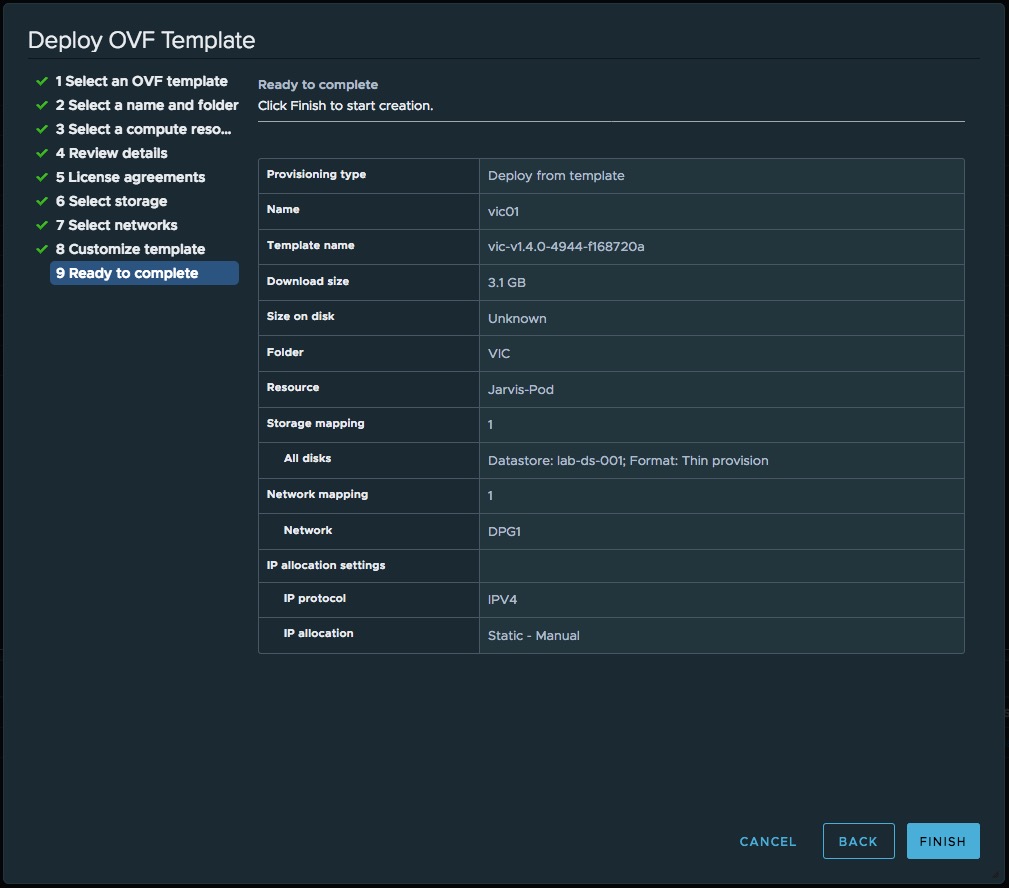
Lean back and let the vCenter do its job… … …FINISHED!
Here you´ll find the extensions.
Dark-vCenter for Google Chrome
Dark-vCenter for Mozilla Firefox
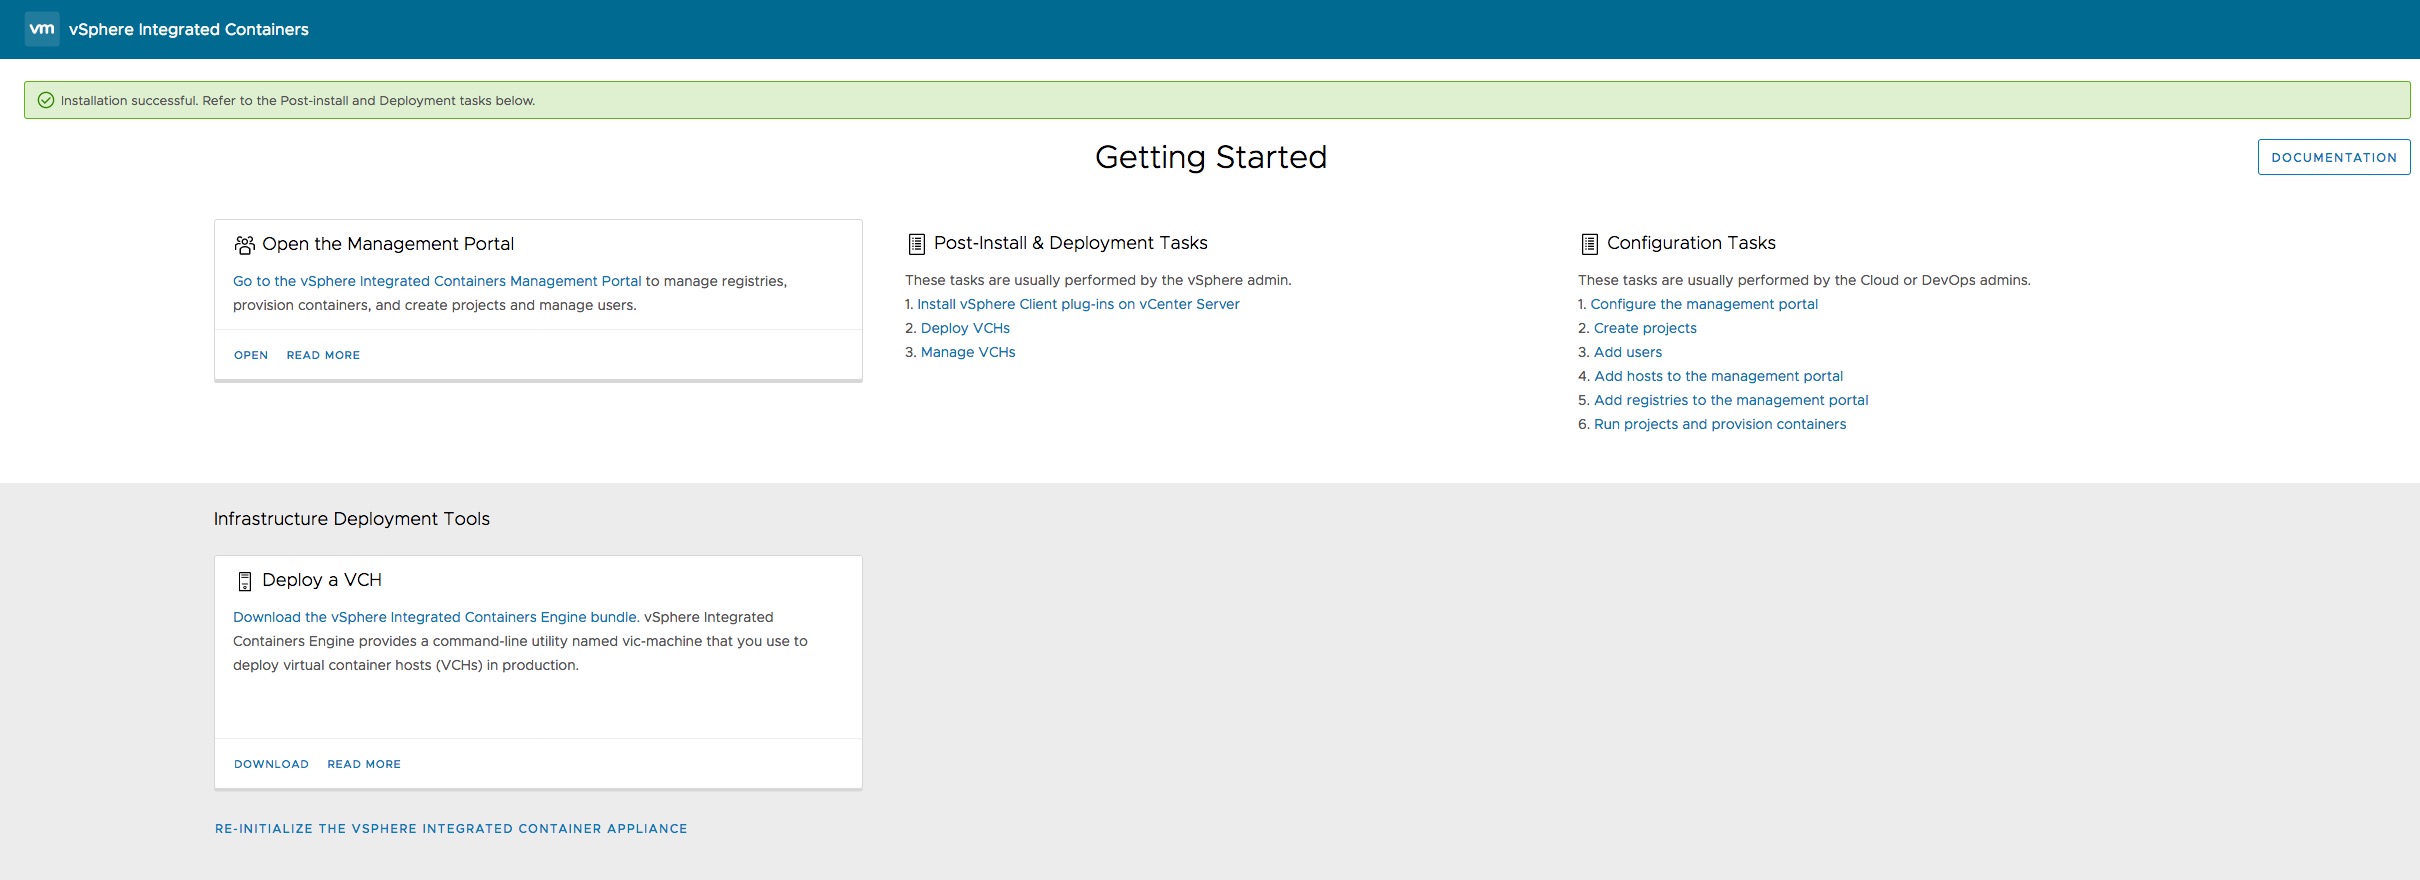
The next step is to complete the VIC appliance installation through the establishment of the connection to our vCenter Server as well as Platform Service Controller. Here we have to enter the vCenter Server address (FQDN) and the Single Sign-on credentials for a vSphere administrator account. In my case, I´m using an embedded PSC and thus, I can leave the fields for the External PSC Instance empty.

If you´ve entered your credentials correctly, you´ll be forwarded to the VIC Getting Started page which you could always open by using the IP-Address or better using the FQDN (of course the short name as well) over port 9443. In my example https://vic01.lab.jarvis.local:9443/
Continue with:
vSphere Integrated Containers Part II: vSphere Client Plug-In
vSphere Integrated Containers Part III: Deployment of a Virtual Container Host
vSphere Integrated Containers Part IV: docker run a Container-VM