
vSphere Integrated Containers Part IV: docker run a Container-VM
Instantiate a nginx cVM
Now that we´ve become more familiar with the Virtual Container Host, it´s time to run our first Container-VM on it. The following example will show you how easy it is to instantiate an Nginx Web Server container-image.
We first pull down the image from Docker Hub to our Datastore by using docker -H 192.168.100.222:2376 --tls pull vmwarecna/nginx.
You´ll see some running tasks in your vCenter taskbar under Recent Tasks. Validate the downloaded image with docker -H 192.168.100.222:2376 --tls images.
docker -H 192.168.100.222:2376 --tls images

REPOSITORY                TAG               IMAGE ID              CREATED                SIZE
vmwarecna/nginx           latest            2492b68e515c          3 years ago            93.5MB
Alright! This was successful and by runnig the following command, the VIC Engine will deploy a Nginx Container-VM with 512MB vRAM (-m) which will listen to port (-p) 8080.
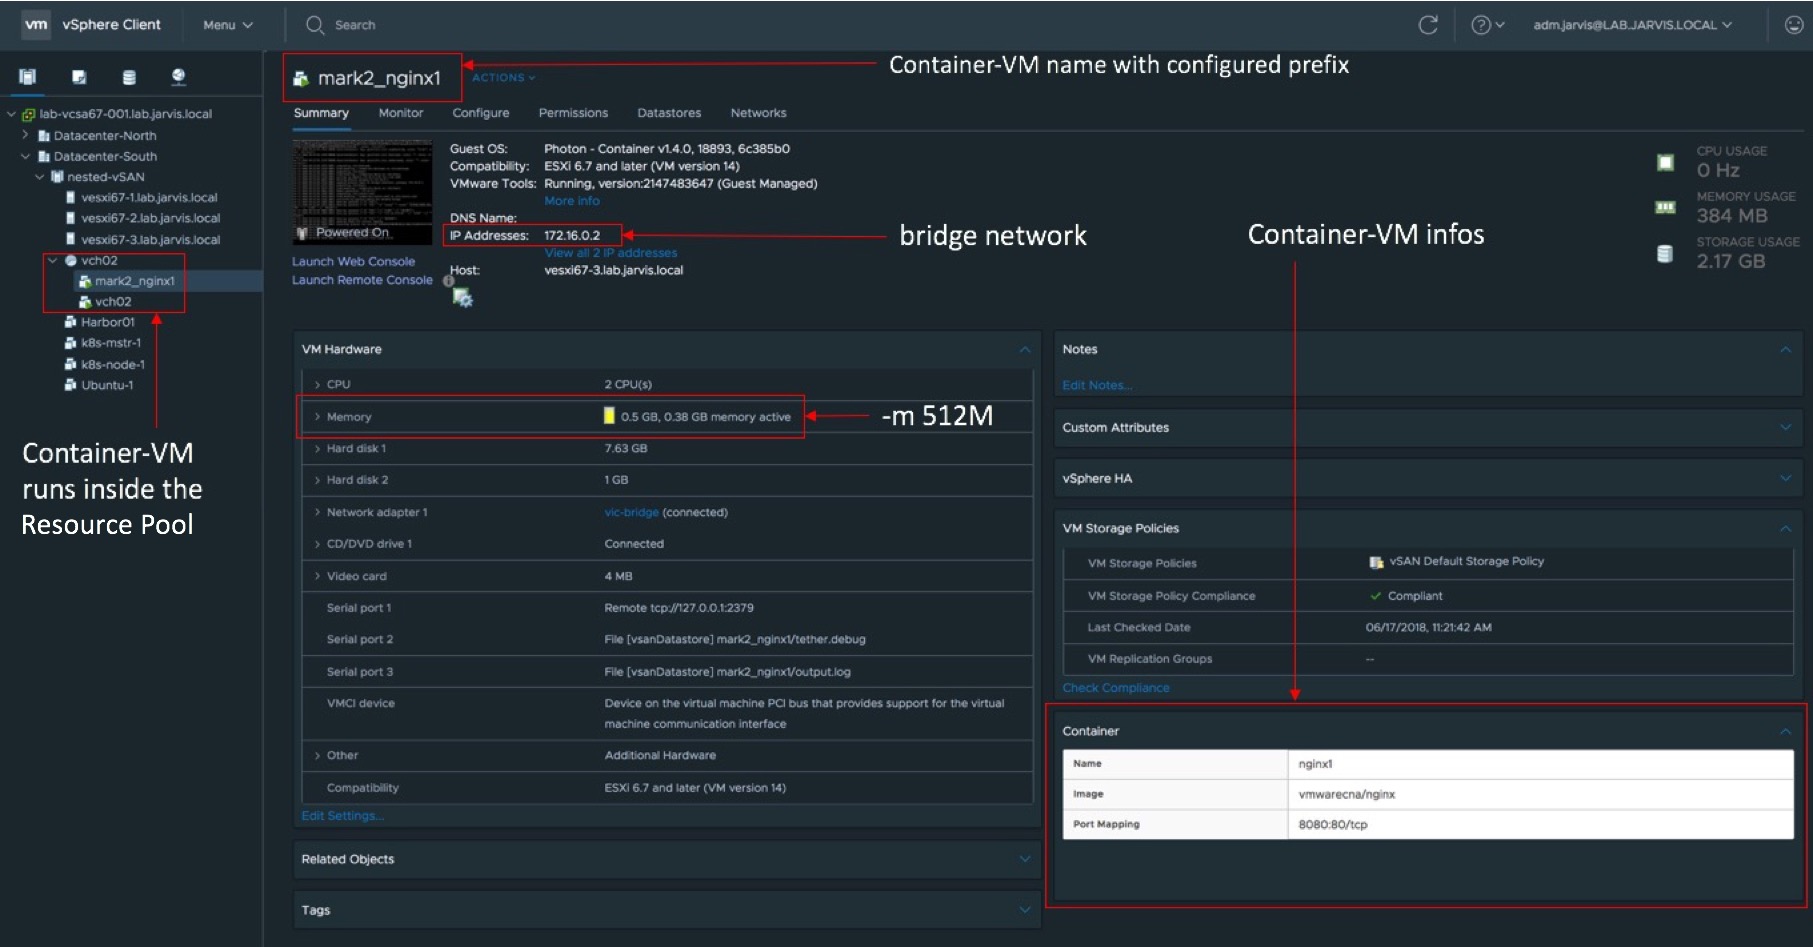
docker -H 192.168.100.222:2376 --tls run --name nginx1 -m 512M -d -p 8080:80 vmwarecna/nginxLet´s check if our container is up and running. First in vCenter:
…and second via command line:
docker -H 192.168.100.222:2376 --tls ps -adocker -H 192.168.100.222:2376 --tls ps -a
CONTAINER ID IMAGE COMMAND CREATED STATUS PORTS NAMES
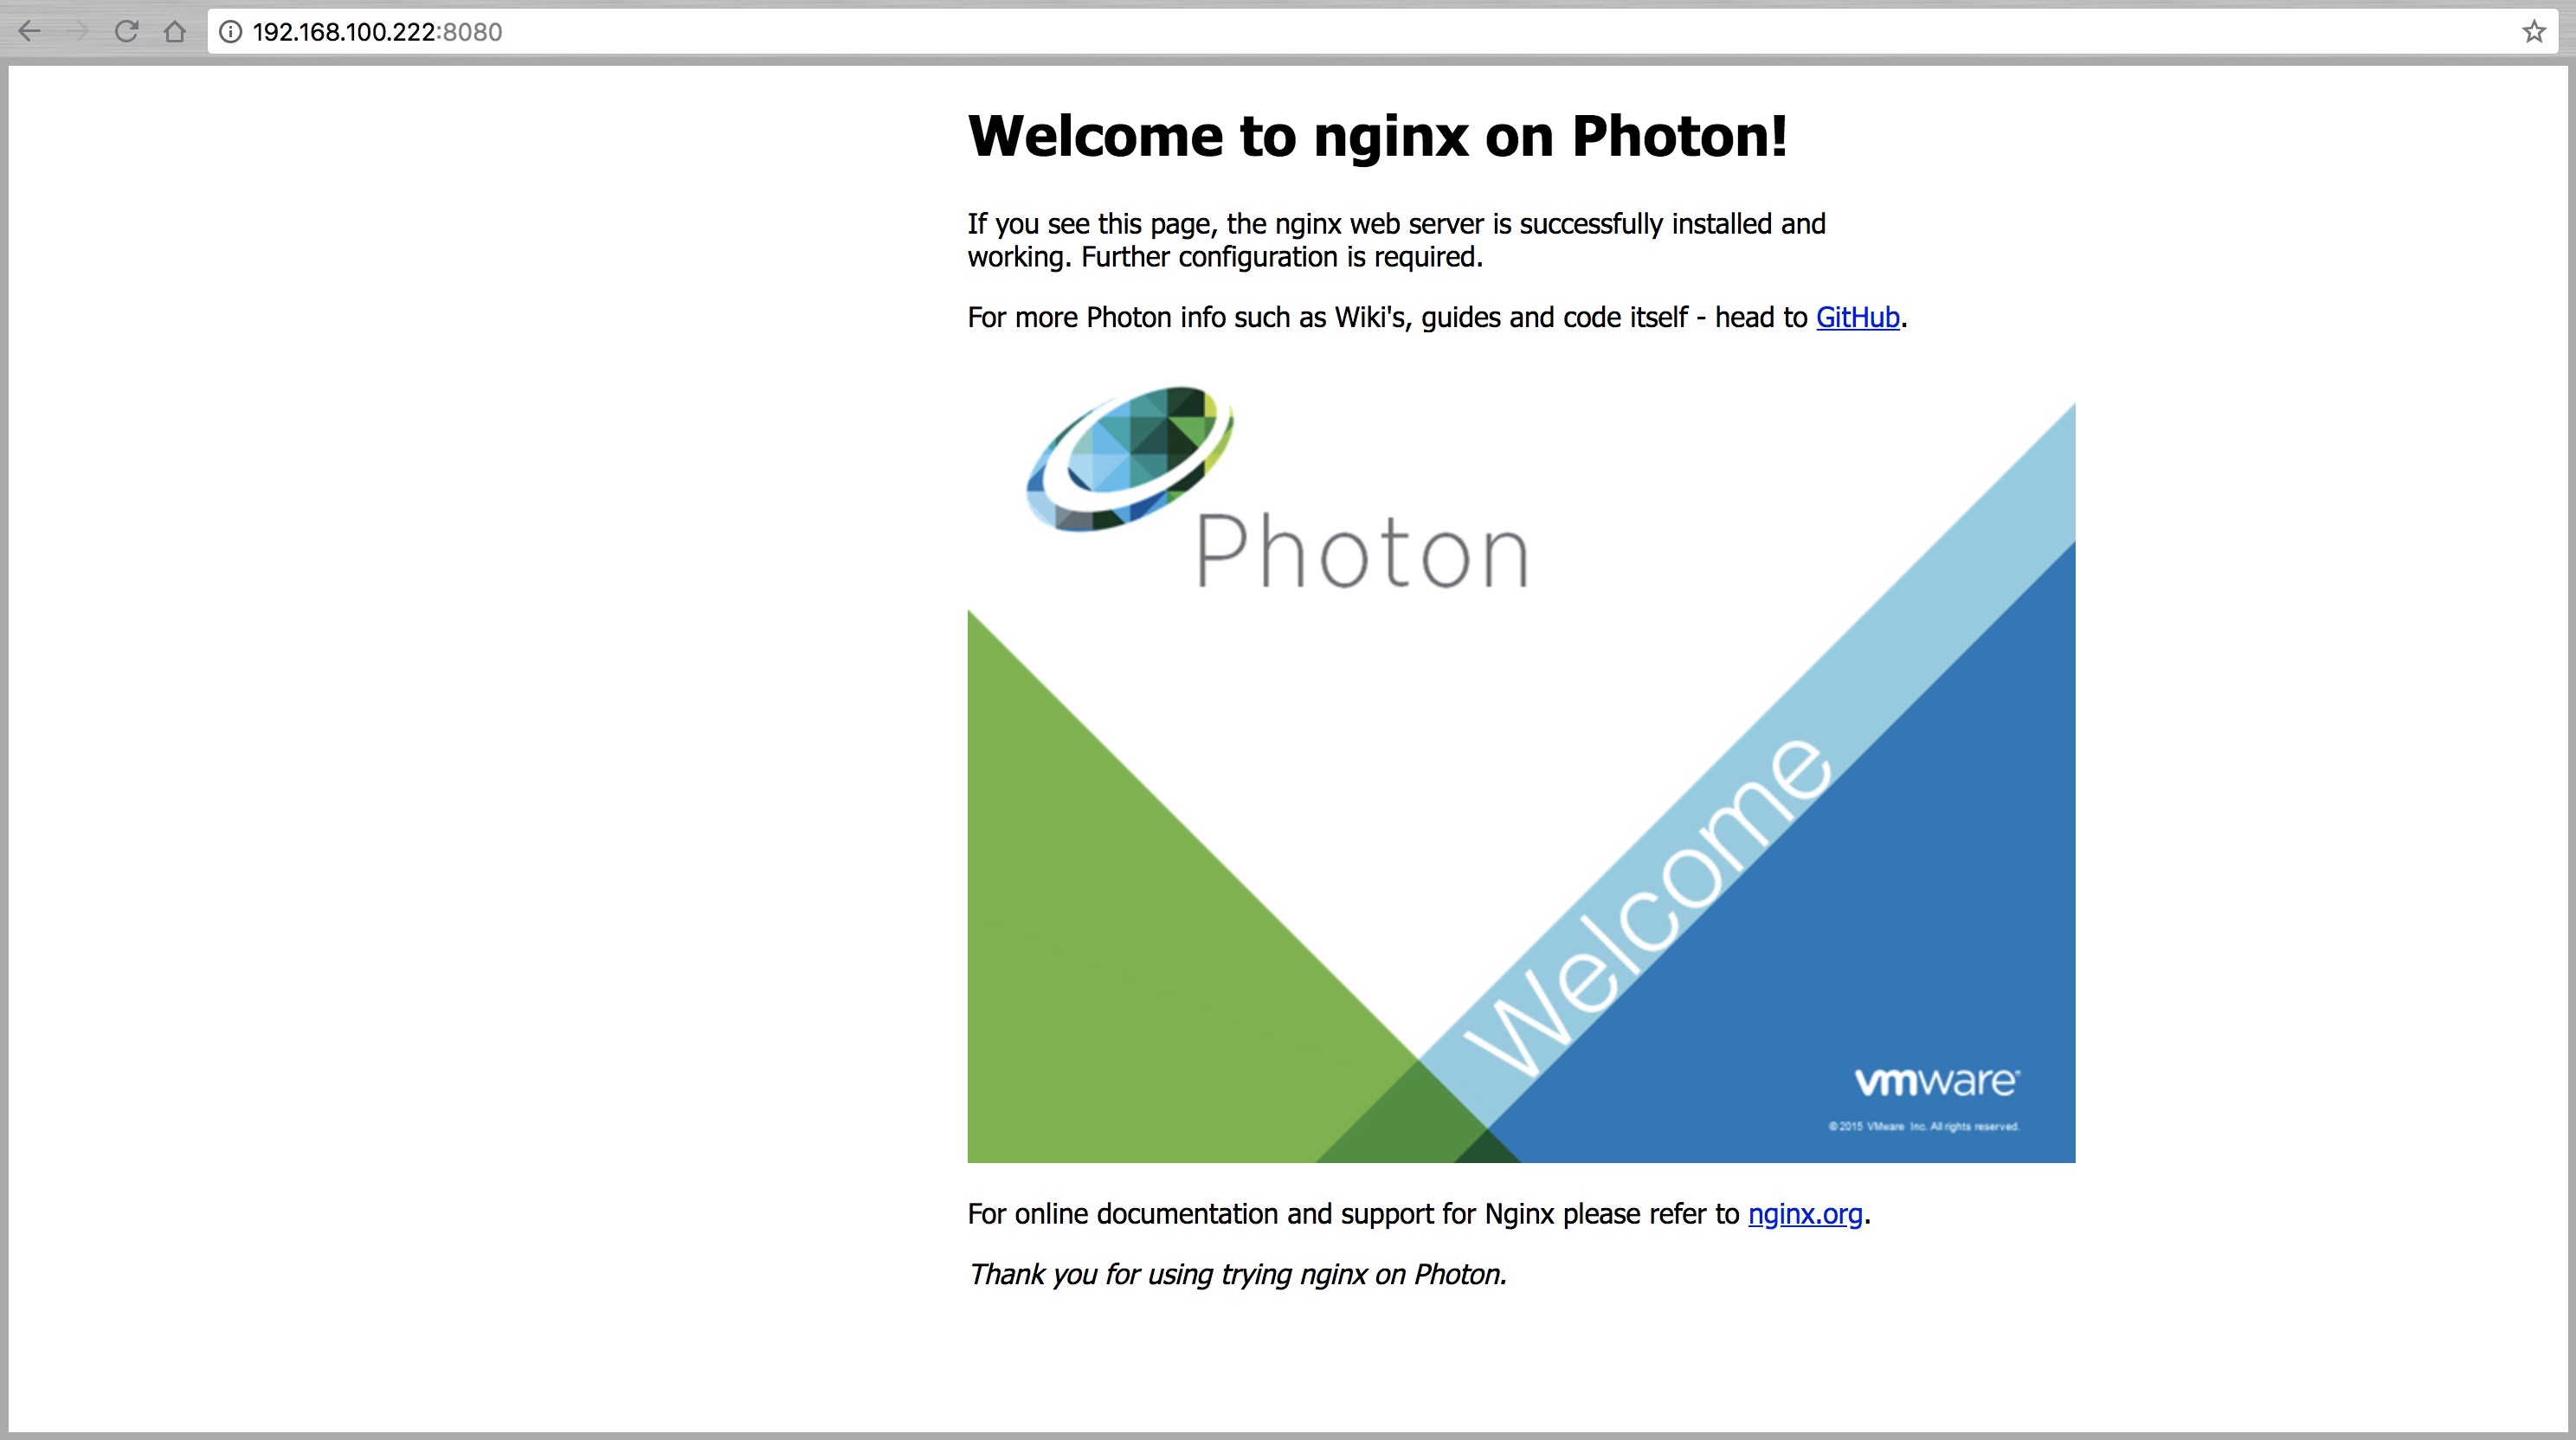
1ce3a5a70099 nginx "nginx -g daemon off;" Up 1m 192.168.100.2:8080->80/tcp nginx1Just like any other Container Host, virtual or physical, you´ll reach your container via the Container Host IP-Address and port. I intended to show the same in my example before we configure a dedicated Container Network afterwards. We can reach the Nginx Web Server site via the VCH IP-Address and port 8080.
If you´re wondering why I always used -H vch-ip-address --tls in my example that´s because I´ve not “exported” my VCH through it´s IP-Address and port yet. We can do this by the following:
export DOCKER_HOST=192.168.100.222:2376After we´ve exported the host, we can go the classical way and use commands like: docker pull, docker images, docker ps -a etc. To get a complete list of all available and supported docker commands you´ve to go here:
VIC - Supported Docker Commands
A dedicated Network for Conatiners
I´ve mentioned in the Networking-Part of this post, that I´ll come back to the point where I´ll configure a Container Network to an existing VCH. As a prerequisite we have to create a new Distributed Port Group on our vDistributed Switch and ensure that all other network related configuration (e.g. VLAN) are set. I´ve gave my new dPG the name vic-container.
As also mentioned we´ll make use of the vic-machine configure option to add the new network to our VCH. Before we begin, we need to know the internal ID of it. Use vic-machine inspect with the virtual machine name of your VCH:
./vic-machine-darwin inspect \
--target lab-vcsa67-001.lab.jarvis.local/Datacenter-South \
--user adm.jarvis@LAB.JARVIS.LOCAL \
--thumbprint 4F:D3:9B:50:00:31:D9:84:9D:DA:CF:57:21:D6:0D:11:89:78:97:26 \
--name vch02
The output will show us the internal ID which is in my case vm-212:
INFO[0008] ### Inspecting VCH ####
INFO[0008] Validating target
INFO[0009]
INFO[0009] VCH ID: VirtualMachine:vm-212
INFO[0009]
INFO[0009] Installer version: v1.4.0-18893-6c385b0
INFO[0009] VCH version: v1.4.0-18893-6c385b0
INFO[0009]
INFO[0009] VCH upgrade status:
INFO[0009] Installer has same version as VCH
INFO[0009] No upgrade available with this installer version
WARN[0009] Unable to identify address acceptable to host certificate, using assigned client IP as host address.
INFO[0009]
INFO[0009] VCH Admin Portal:
INFO[0009] https://192.168.100.222:2378
INFO[0009]
INFO[0009] Published ports can be reached at:
INFO[0009] 192.168.100.222
INFO[0009]
INFO[0009] Docker environment variables:
INFO[0009] DOCKER_HOST=192.168.100.222:2376
INFO[0009]
INFO[0009] Connect to docker:
INFO[0009] docker -H 192.168.100.222:2376 --tls info
INFO[0009] Completed successfully
Okay, now that we have the ID we can continue with adding the new container network by using vic-machine configure:
./vic-machine-darwin configure \
--target lab-vcsa67-001.lab.jarvis.local/Datacenter-South \
--user adm.jarvis@lab.jarvis.local \
--thumbprint 4F:D3:9B:50:00:31:D9:84:9D:DA:CF:57:21:D6:0D:11:89:78:97:26 \
--id vm-212 \
--container-network vic-container:vic-container-network \
--container-network-gateway vic-container:192.168.100.1/24 \
--container-network-ip-range vic-container:192.168.100.0/24 \
--container-network-dns vic-container:192.168.100.80 \
--timeout 5m
I´ve used the option --timeout 5m because I ran in a timeout without it. I´m pretty sure this was performance related to my nested environment. But anyway! The configuration was successful and we can validate it with vic-machine inspect:
docker --tls inspect vic-container-network[
{
"Name": "vic-container-network",
"Id": "a6d0296afcace305048480244cca65564708a6dec474eb7d7a865593afdb593b",
"Created": "2018-07-12T22:11:39.685754355Z",
"Scope": "",
"Driver": "external",
"EnableIPv6": false,
"IPAM": {
"Driver": "",
"Options": {},
"Config": [
{
"Subnet": "192.168.100.0/24",
"Gateway": "192.168.100.1"
}
]
},
"Internal": false,
"Attachable": false,
"Containers": {},
"Options": {},
"Labels": {}
}
]At the end we need to validate the functionality as well and we´ll deploy a new Nginx but this time with the dedicated Container Network vic-container-network and without declaring the port.
docker --tls run --name nginx3 --net vic-container-network vmwarecna/nginx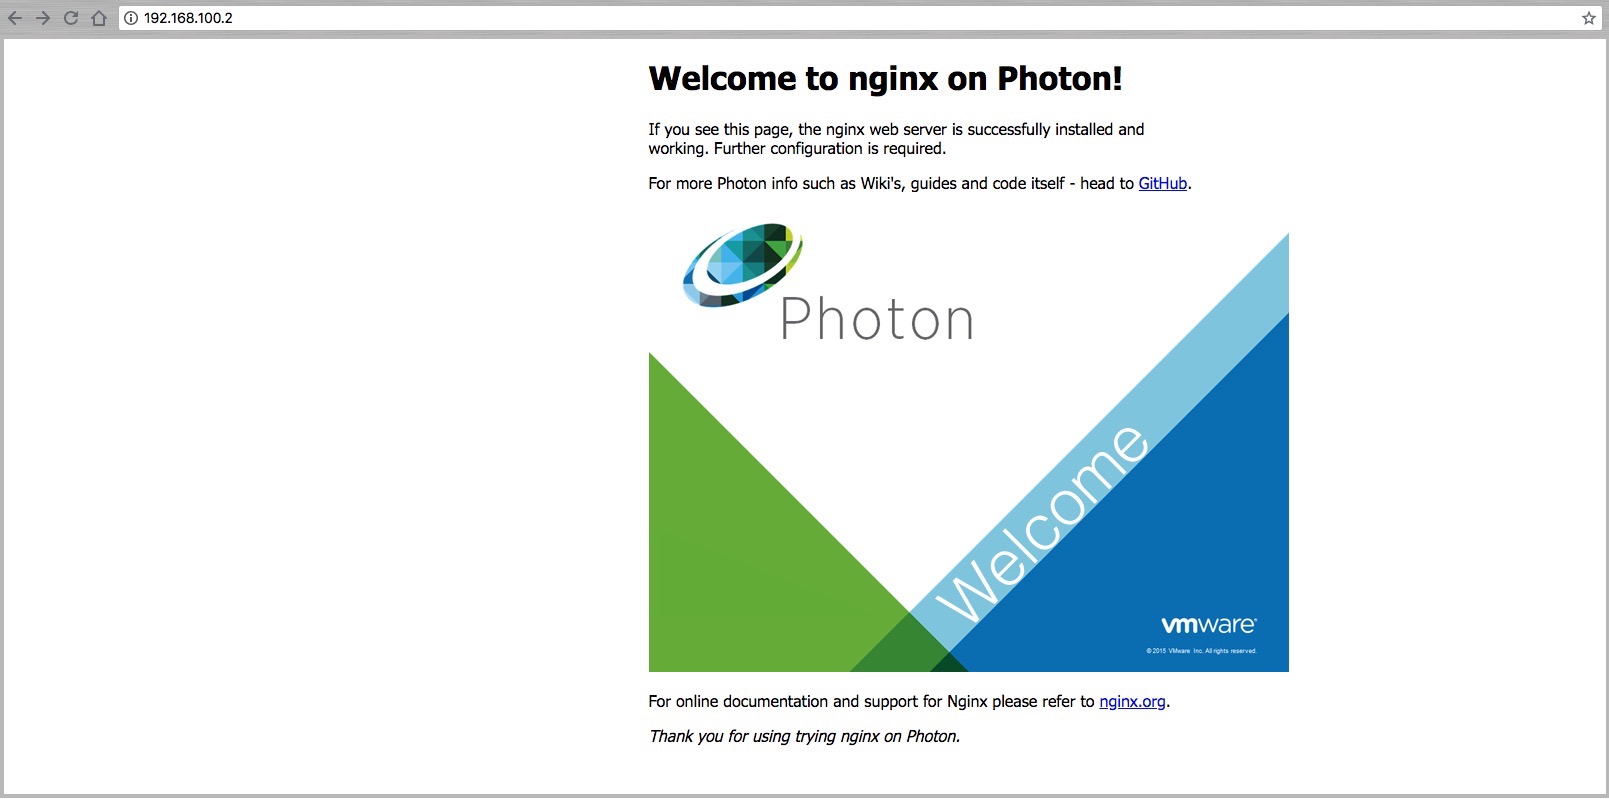
There you go! :-)
World Cup 2018 CLI Dashboad Container
Just before coming to the end of my VIC series and because it´s Worldcup time, I´d like to show you a nice World Cup 2018 CLI dashboard by Cédric Blondeau running in a container.
docker --tls pull cedricbl/world-cup-2018-cli-dashboard && \
docker --tls run --name Worldcup2018 -ti -e TZ=Europe/Berlin cedricbl/world-cup-2018-cli-dashboard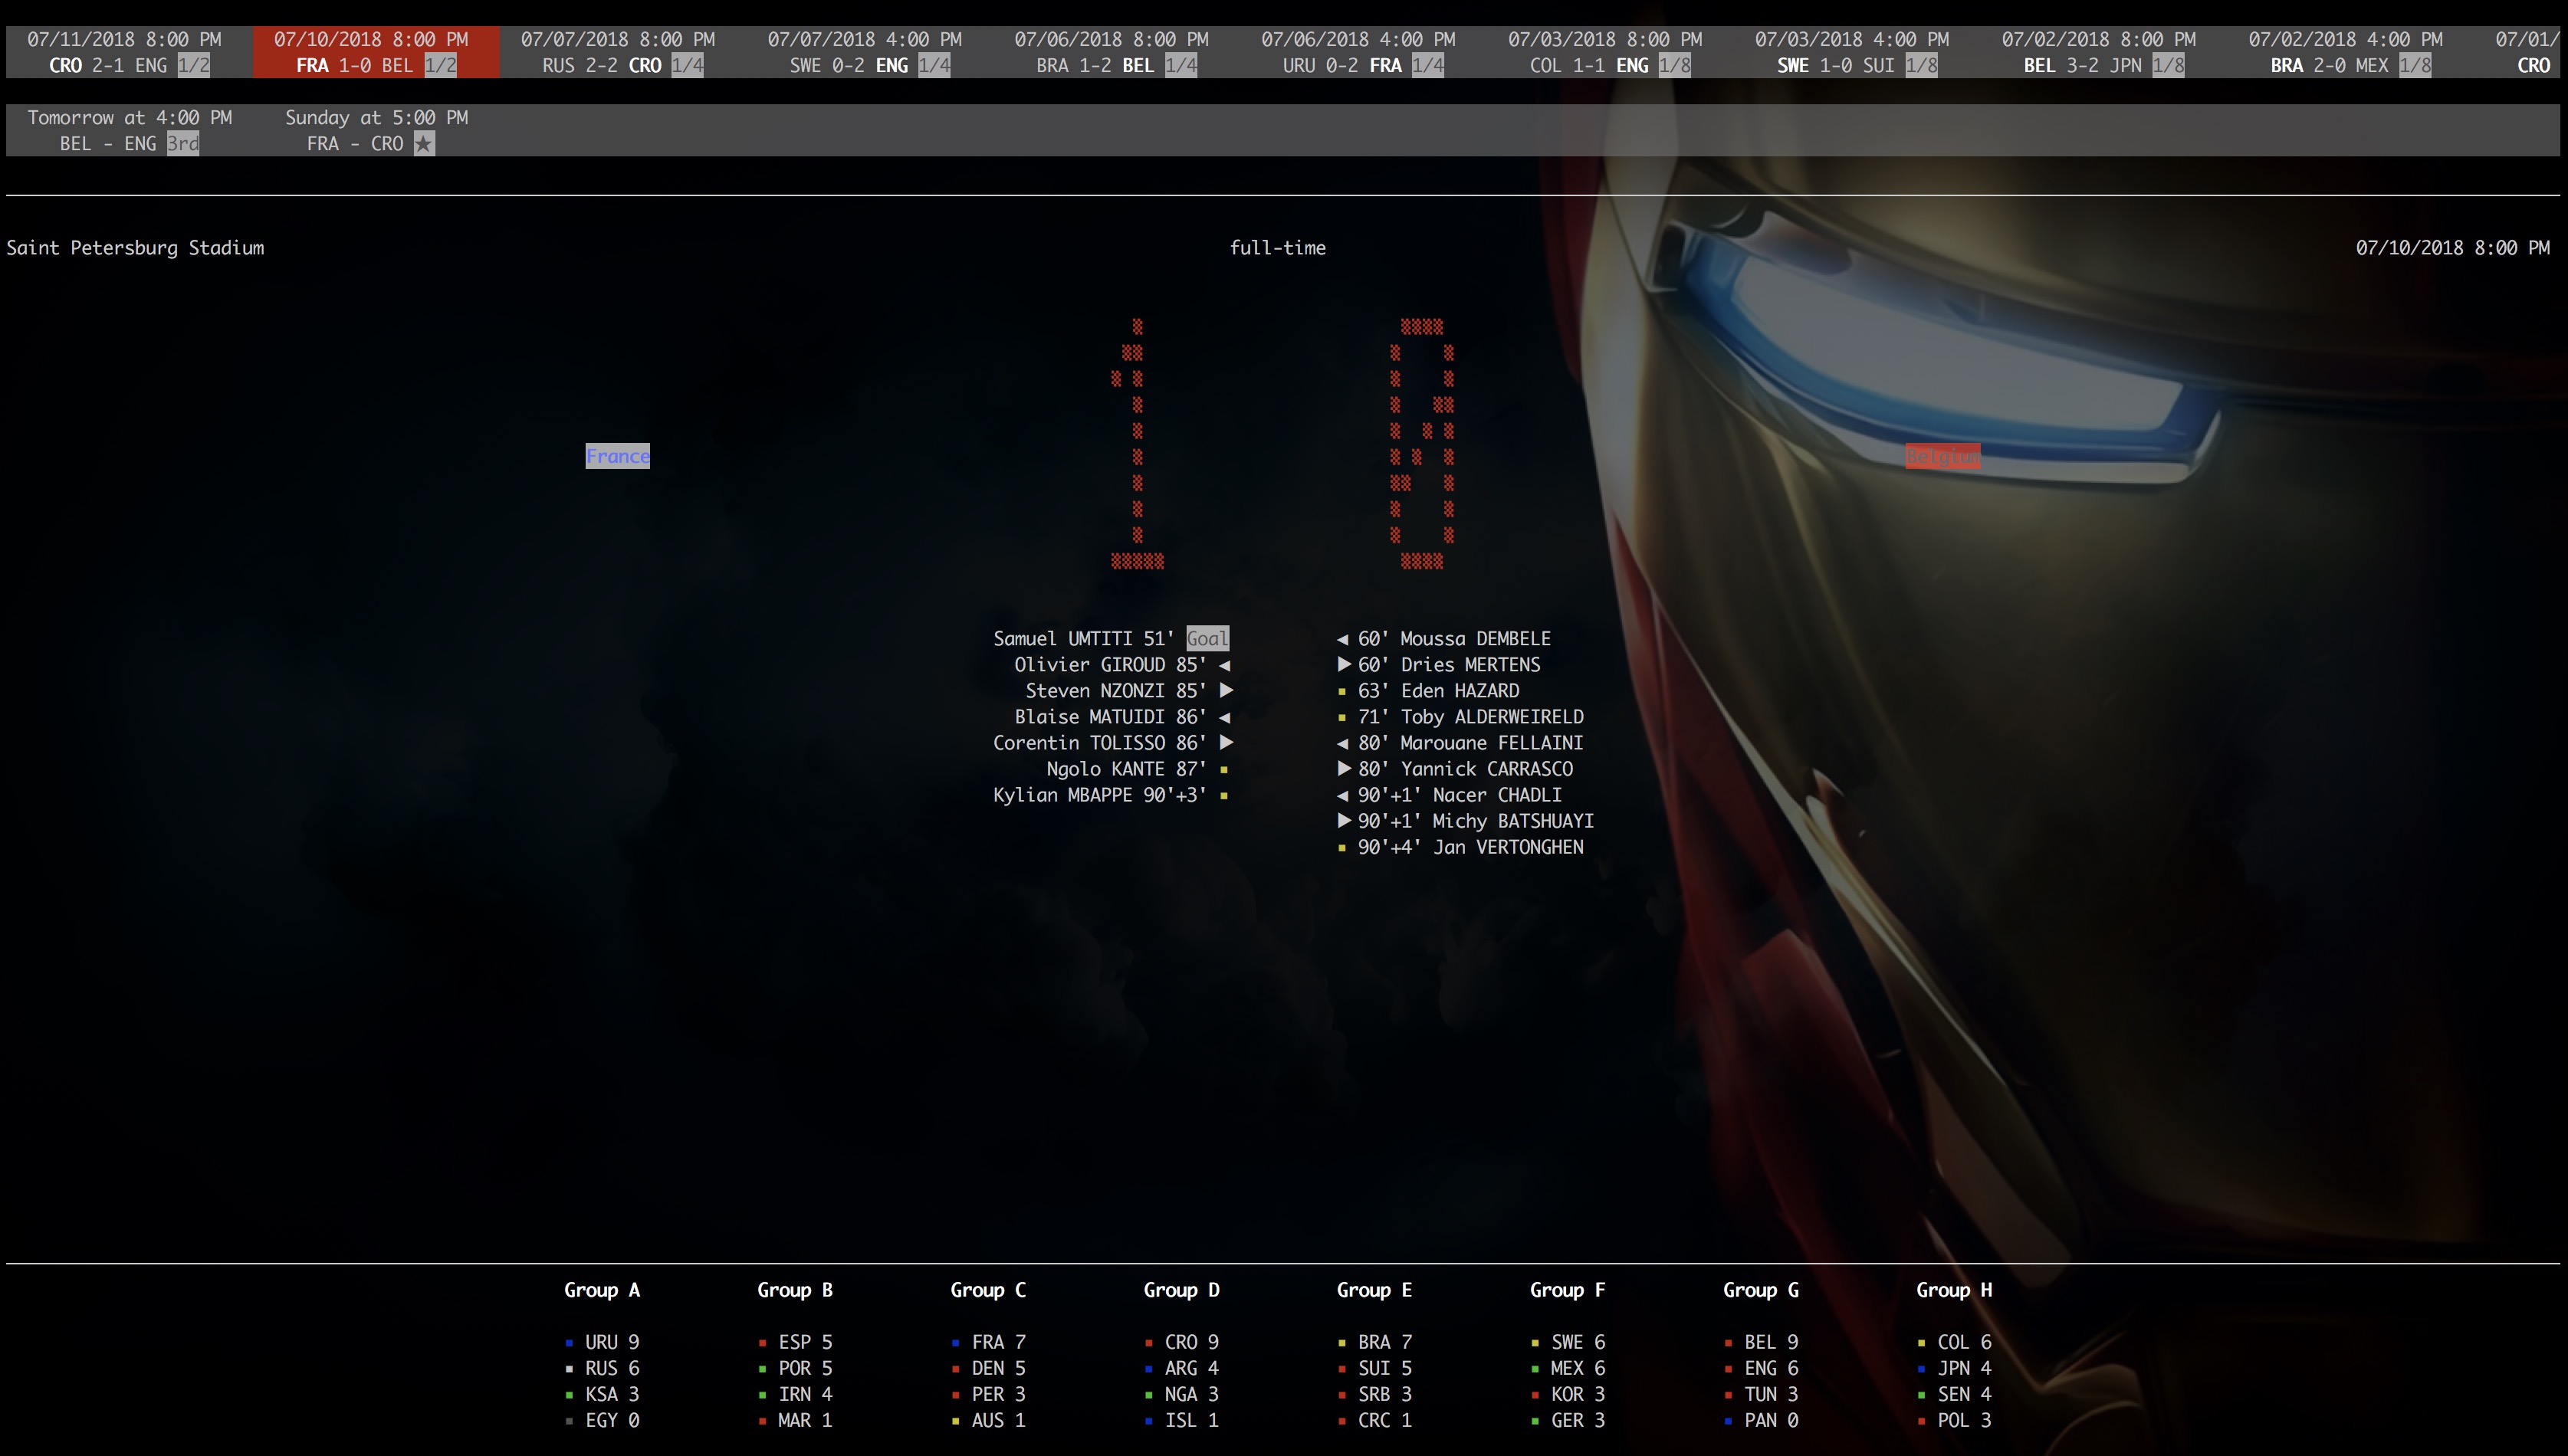
Isn´t that cool?! :-) Try it out!
Previous articles:
vSphere Integrated Containers Part III: Deployment of a Virtual Container Host
vSphere Integrated Containers Part II: vSphere Client Plug-In